Building a Homemade Keyboard
If you wish to make a keyboard from scratch, you must first invent the universe. Carl Sagan
I wrote this post in 2017 and never published it. I’m declaring blog bankrupcy and publishing it without editing.
I like mechanical keyboards. I’ve had a Das Keyboard Model S Professional for several years now.
I saw a few tweets from people building their ErgoDox keyboard kit, which looked like a lot of fun.
I spend a lot of time at the keyboard, so I might as well make it as enjoyable as possible. Even if some of that is fake fun due to the IKEA effect. There’s also an element of a Jedi building their own lightsaber.
However the ErgoDox wasn’t available at the time (it’s sold in group buys) and it looked a little pricey.
I decided to build an ErgoDox style keyboard from scratch (well, as “from scratch” as I could). Early on I decided that it was okay for this keyboard to be “shitty”, which is liberating. I designed and assembled it myself, it has no PCB, and it’s of significantly poorer quality than what you’d get from a normal keyboard or even building a kit.

Design
For the key layout, I copied the ErgoDox exactly. This is my first foray into custom keyboards, I don’t know what works, and I didn’t want it to end in an unusable mess.
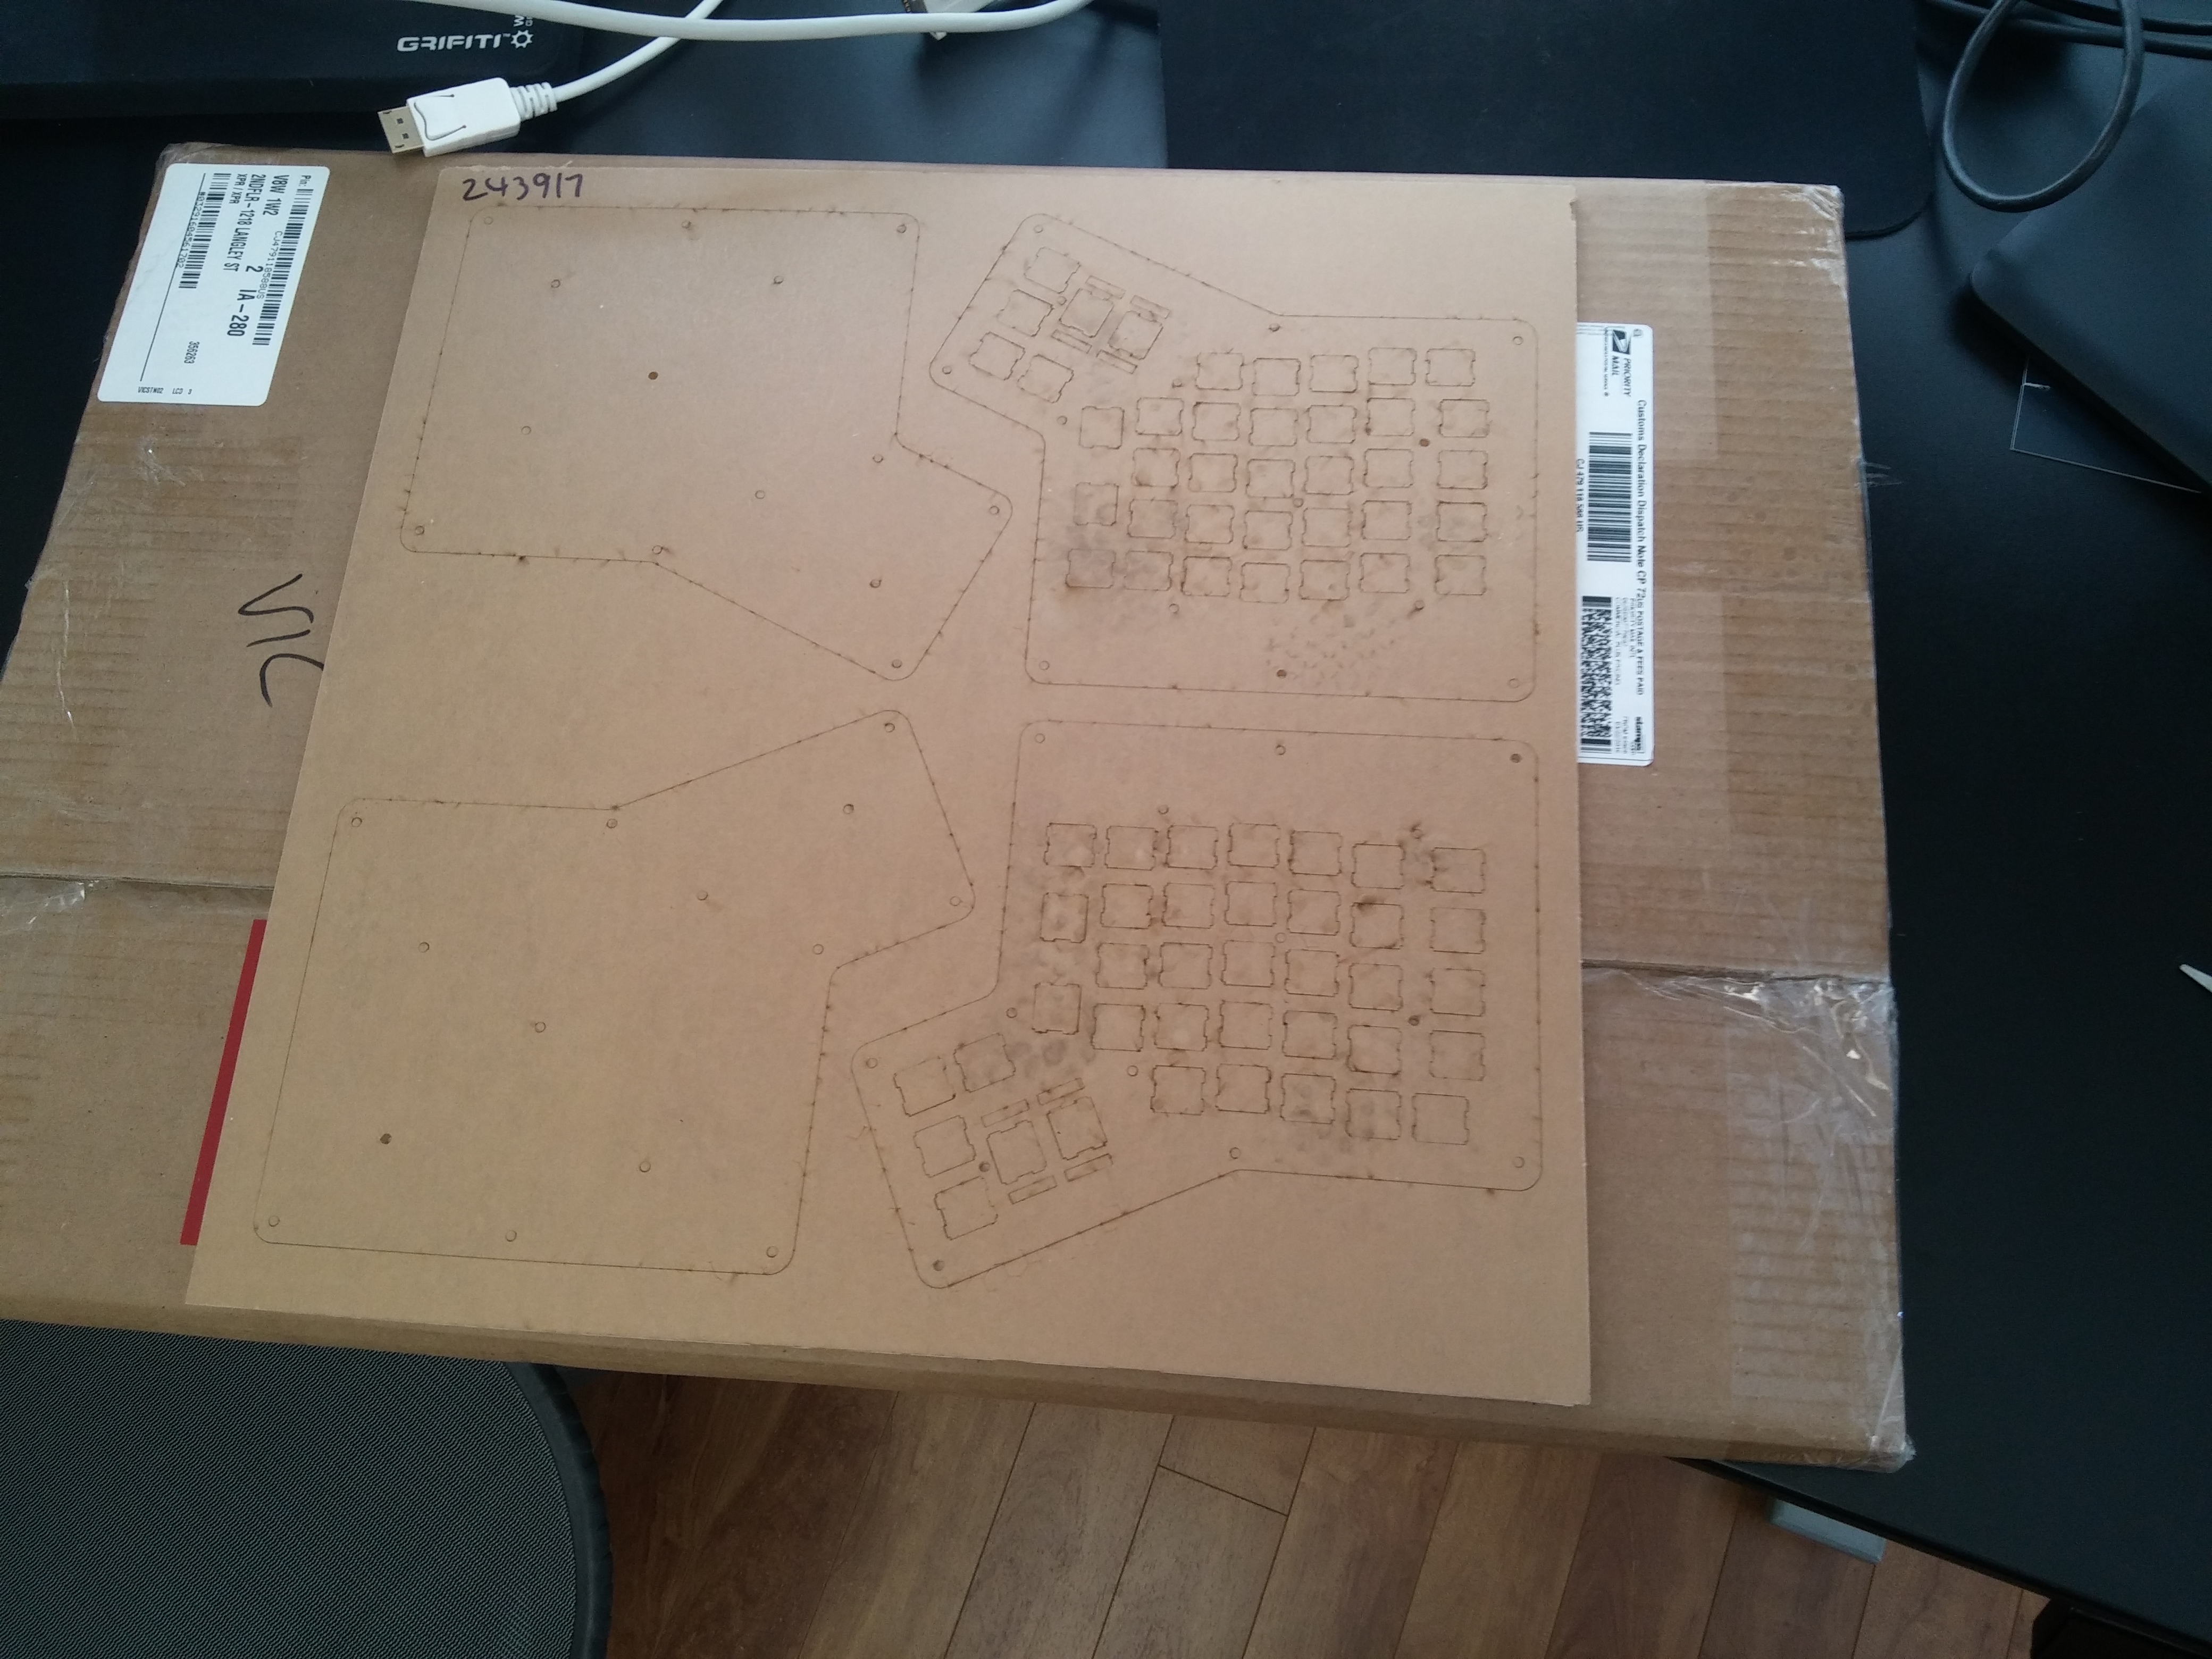
To save on cost, I only printed two of the ErgoDox case’s 5 layers: the bottom layer and the plate, which holds the key switches.
Assembly
This is how it arrived
Keyboard and keys were easily punched out of the plate.
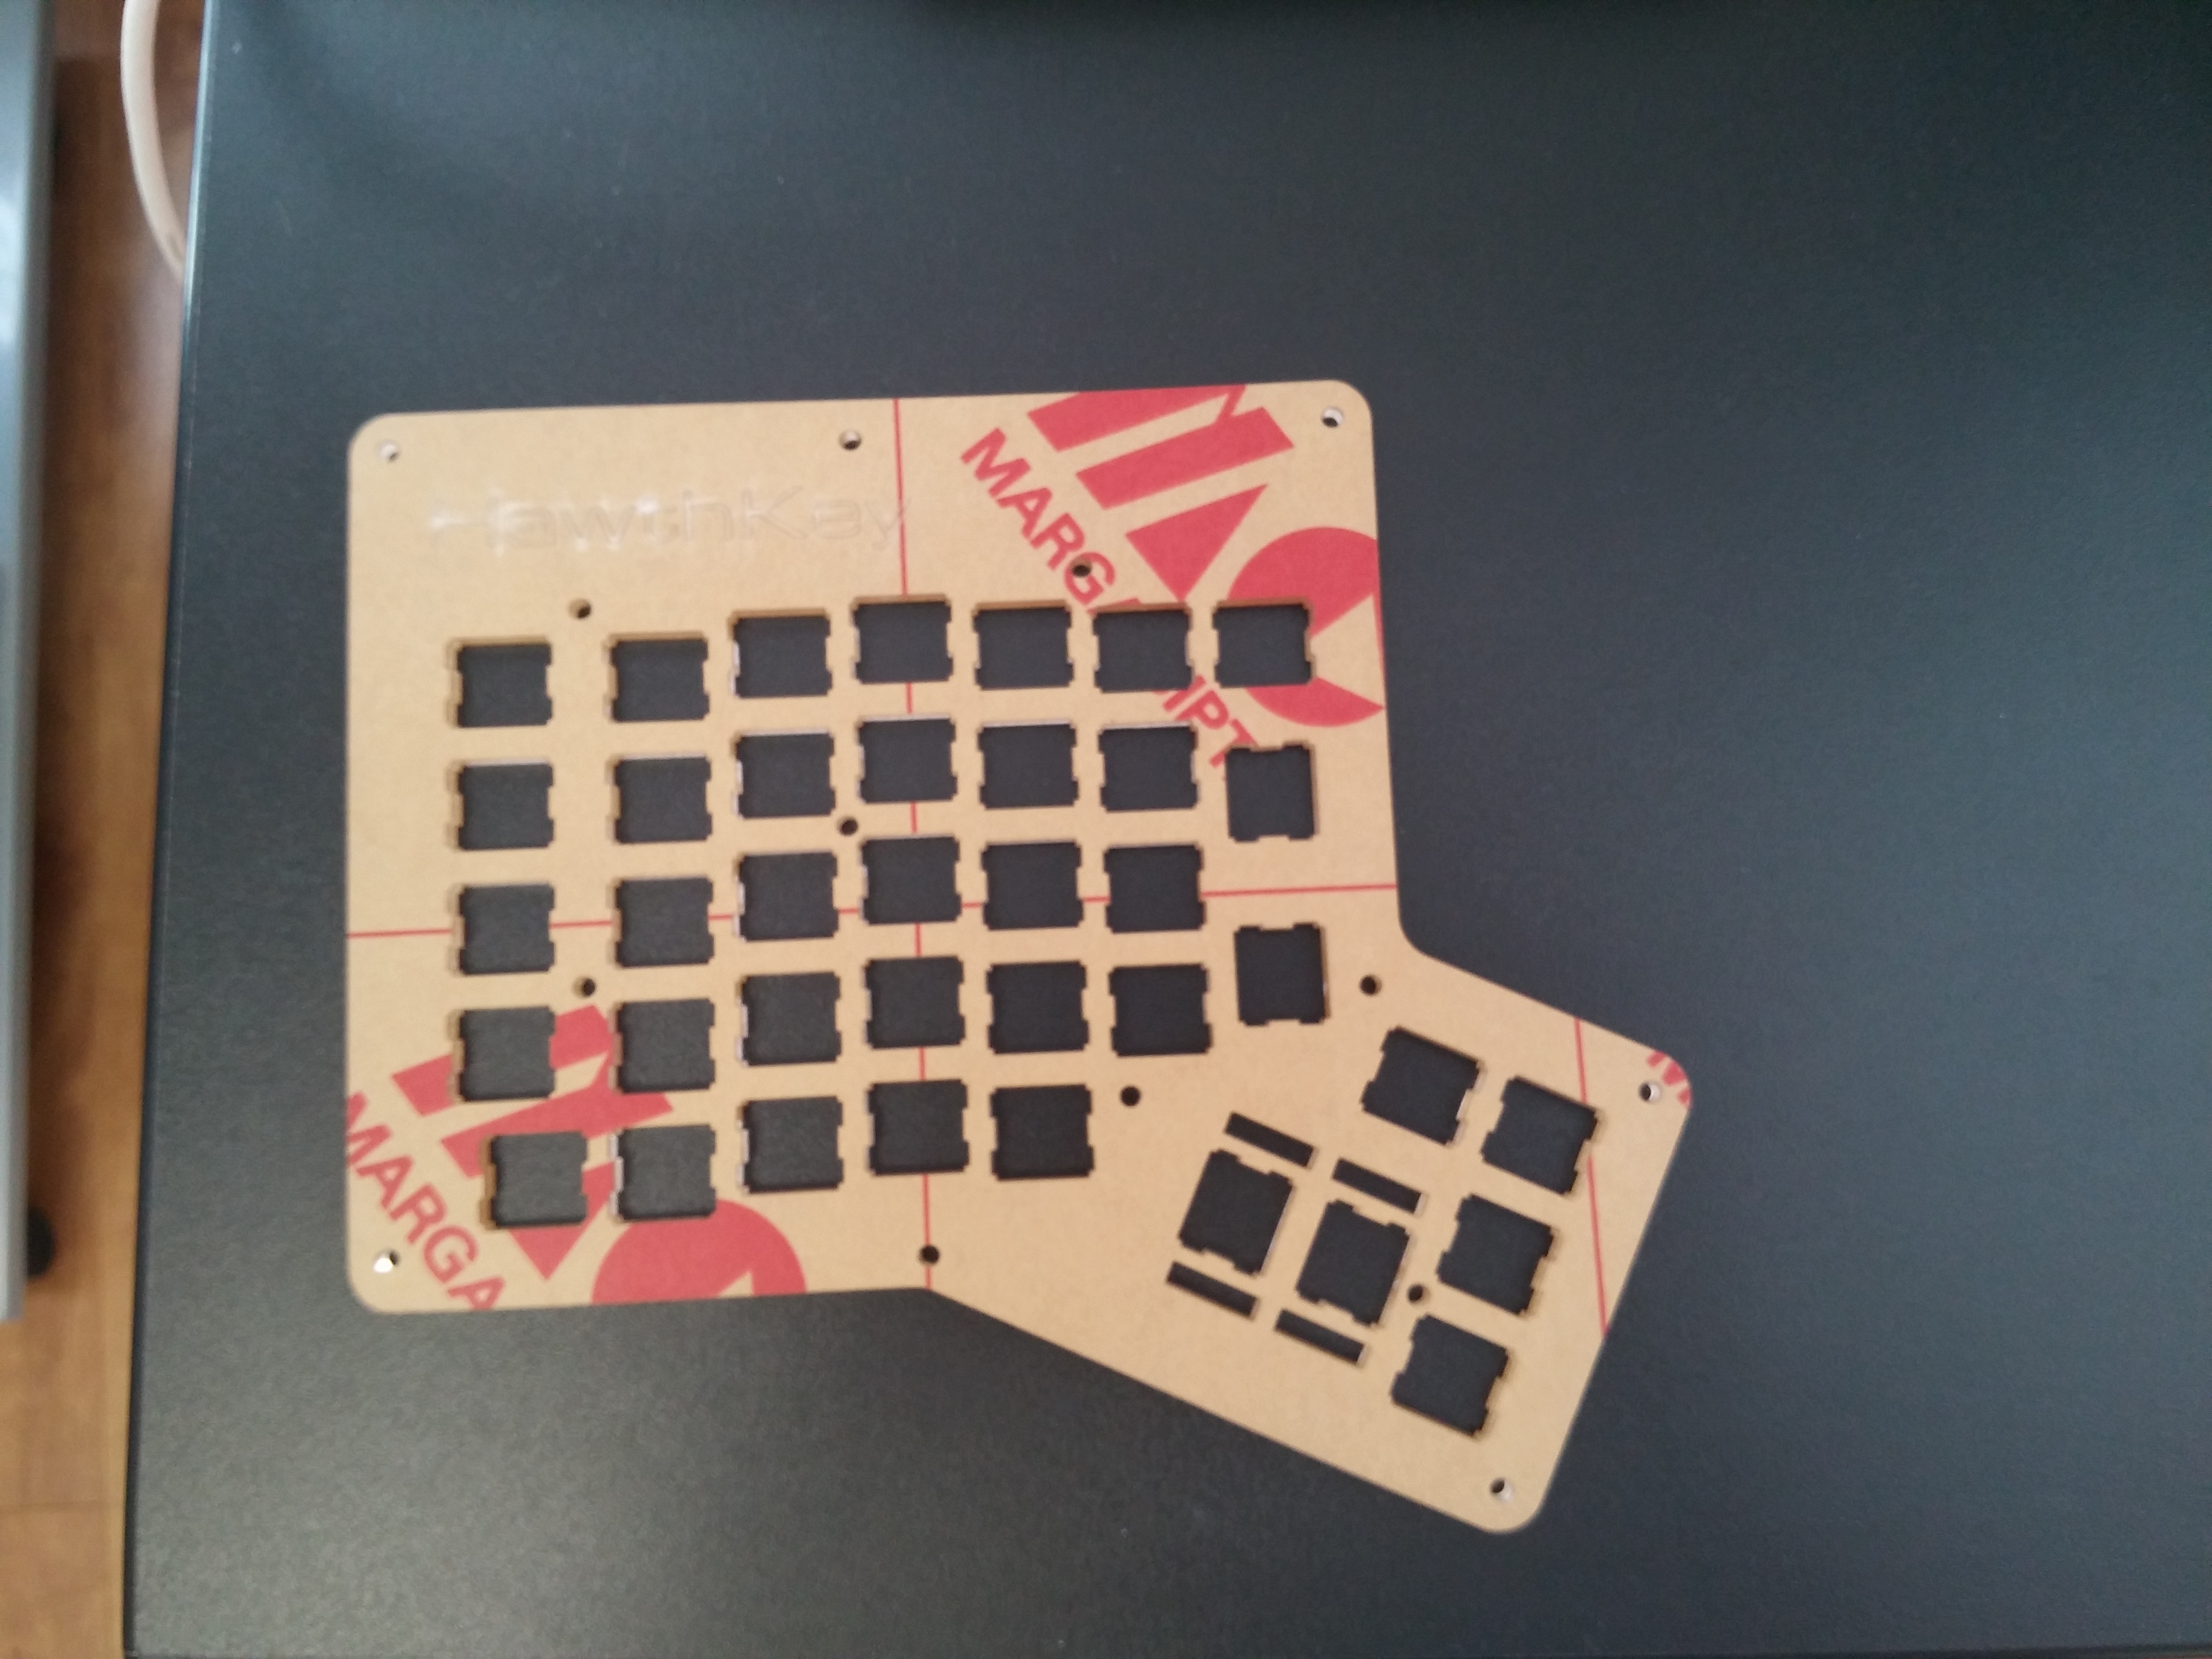
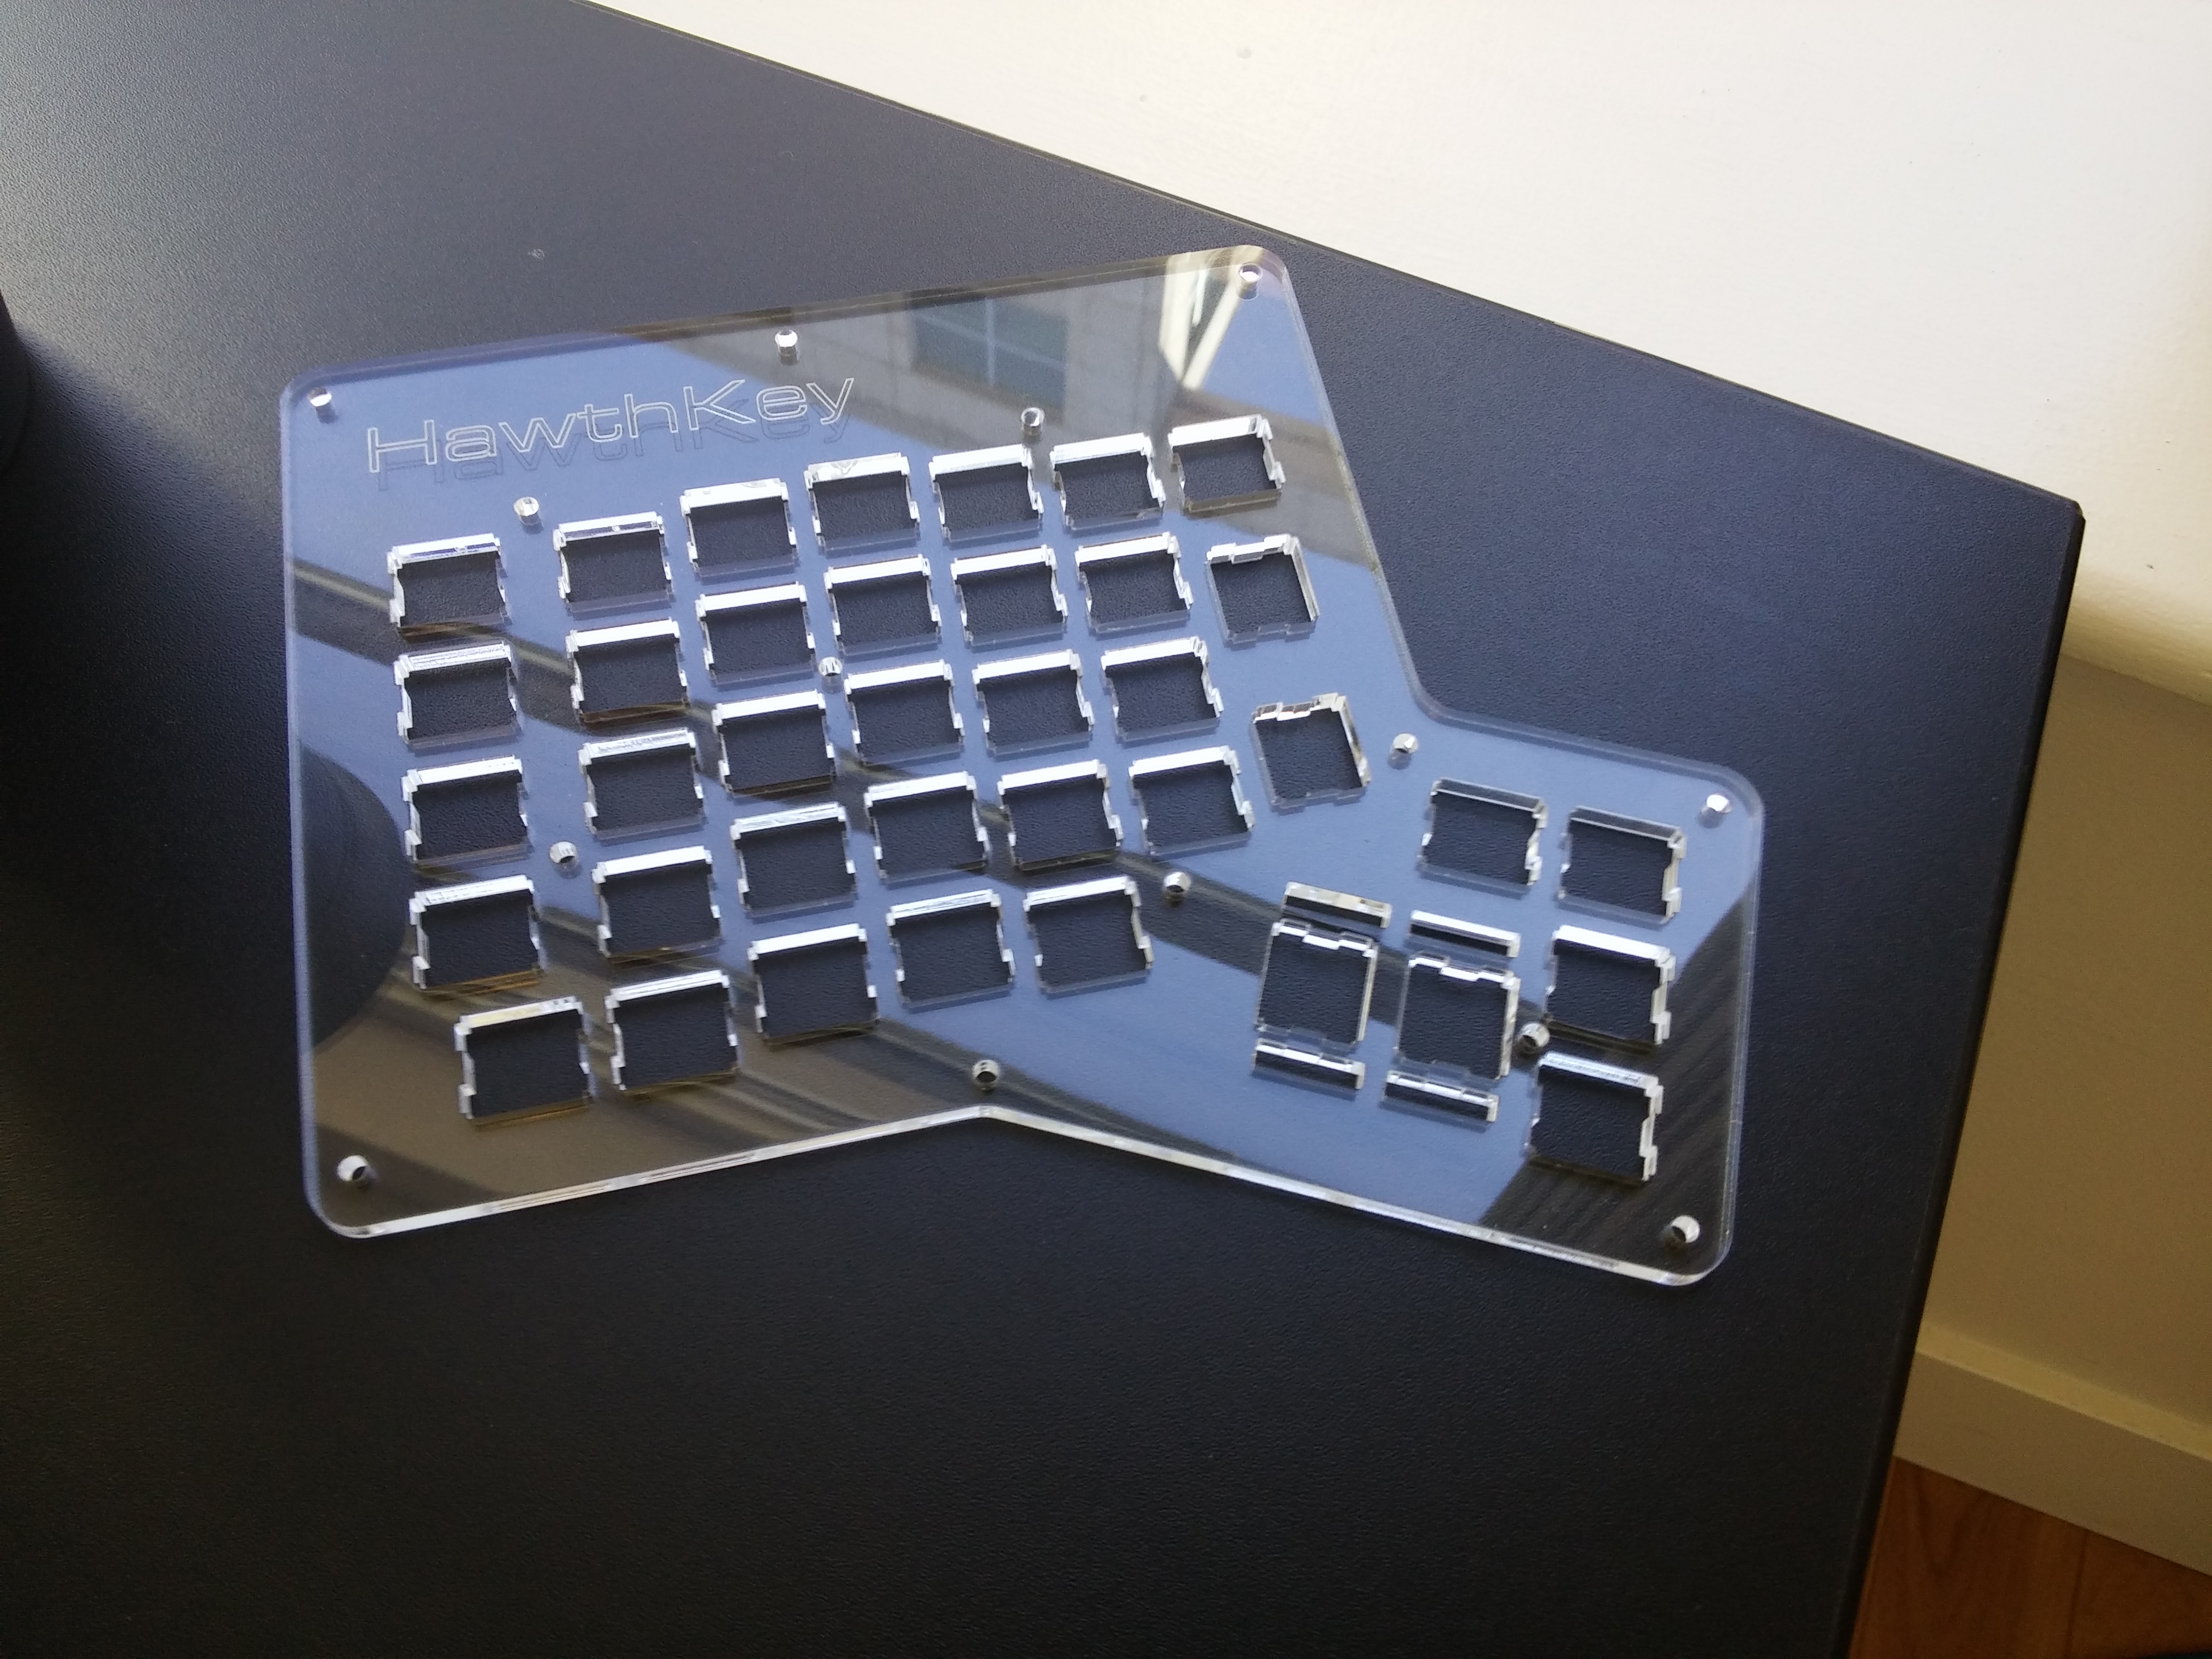
Paper removed. Looks great.
This was actually a mistake.
In the later gluing step, it was nearly impossible to keep the glue from ruining the glossy clear finish.
If I was to do this again I would keep the paper on.
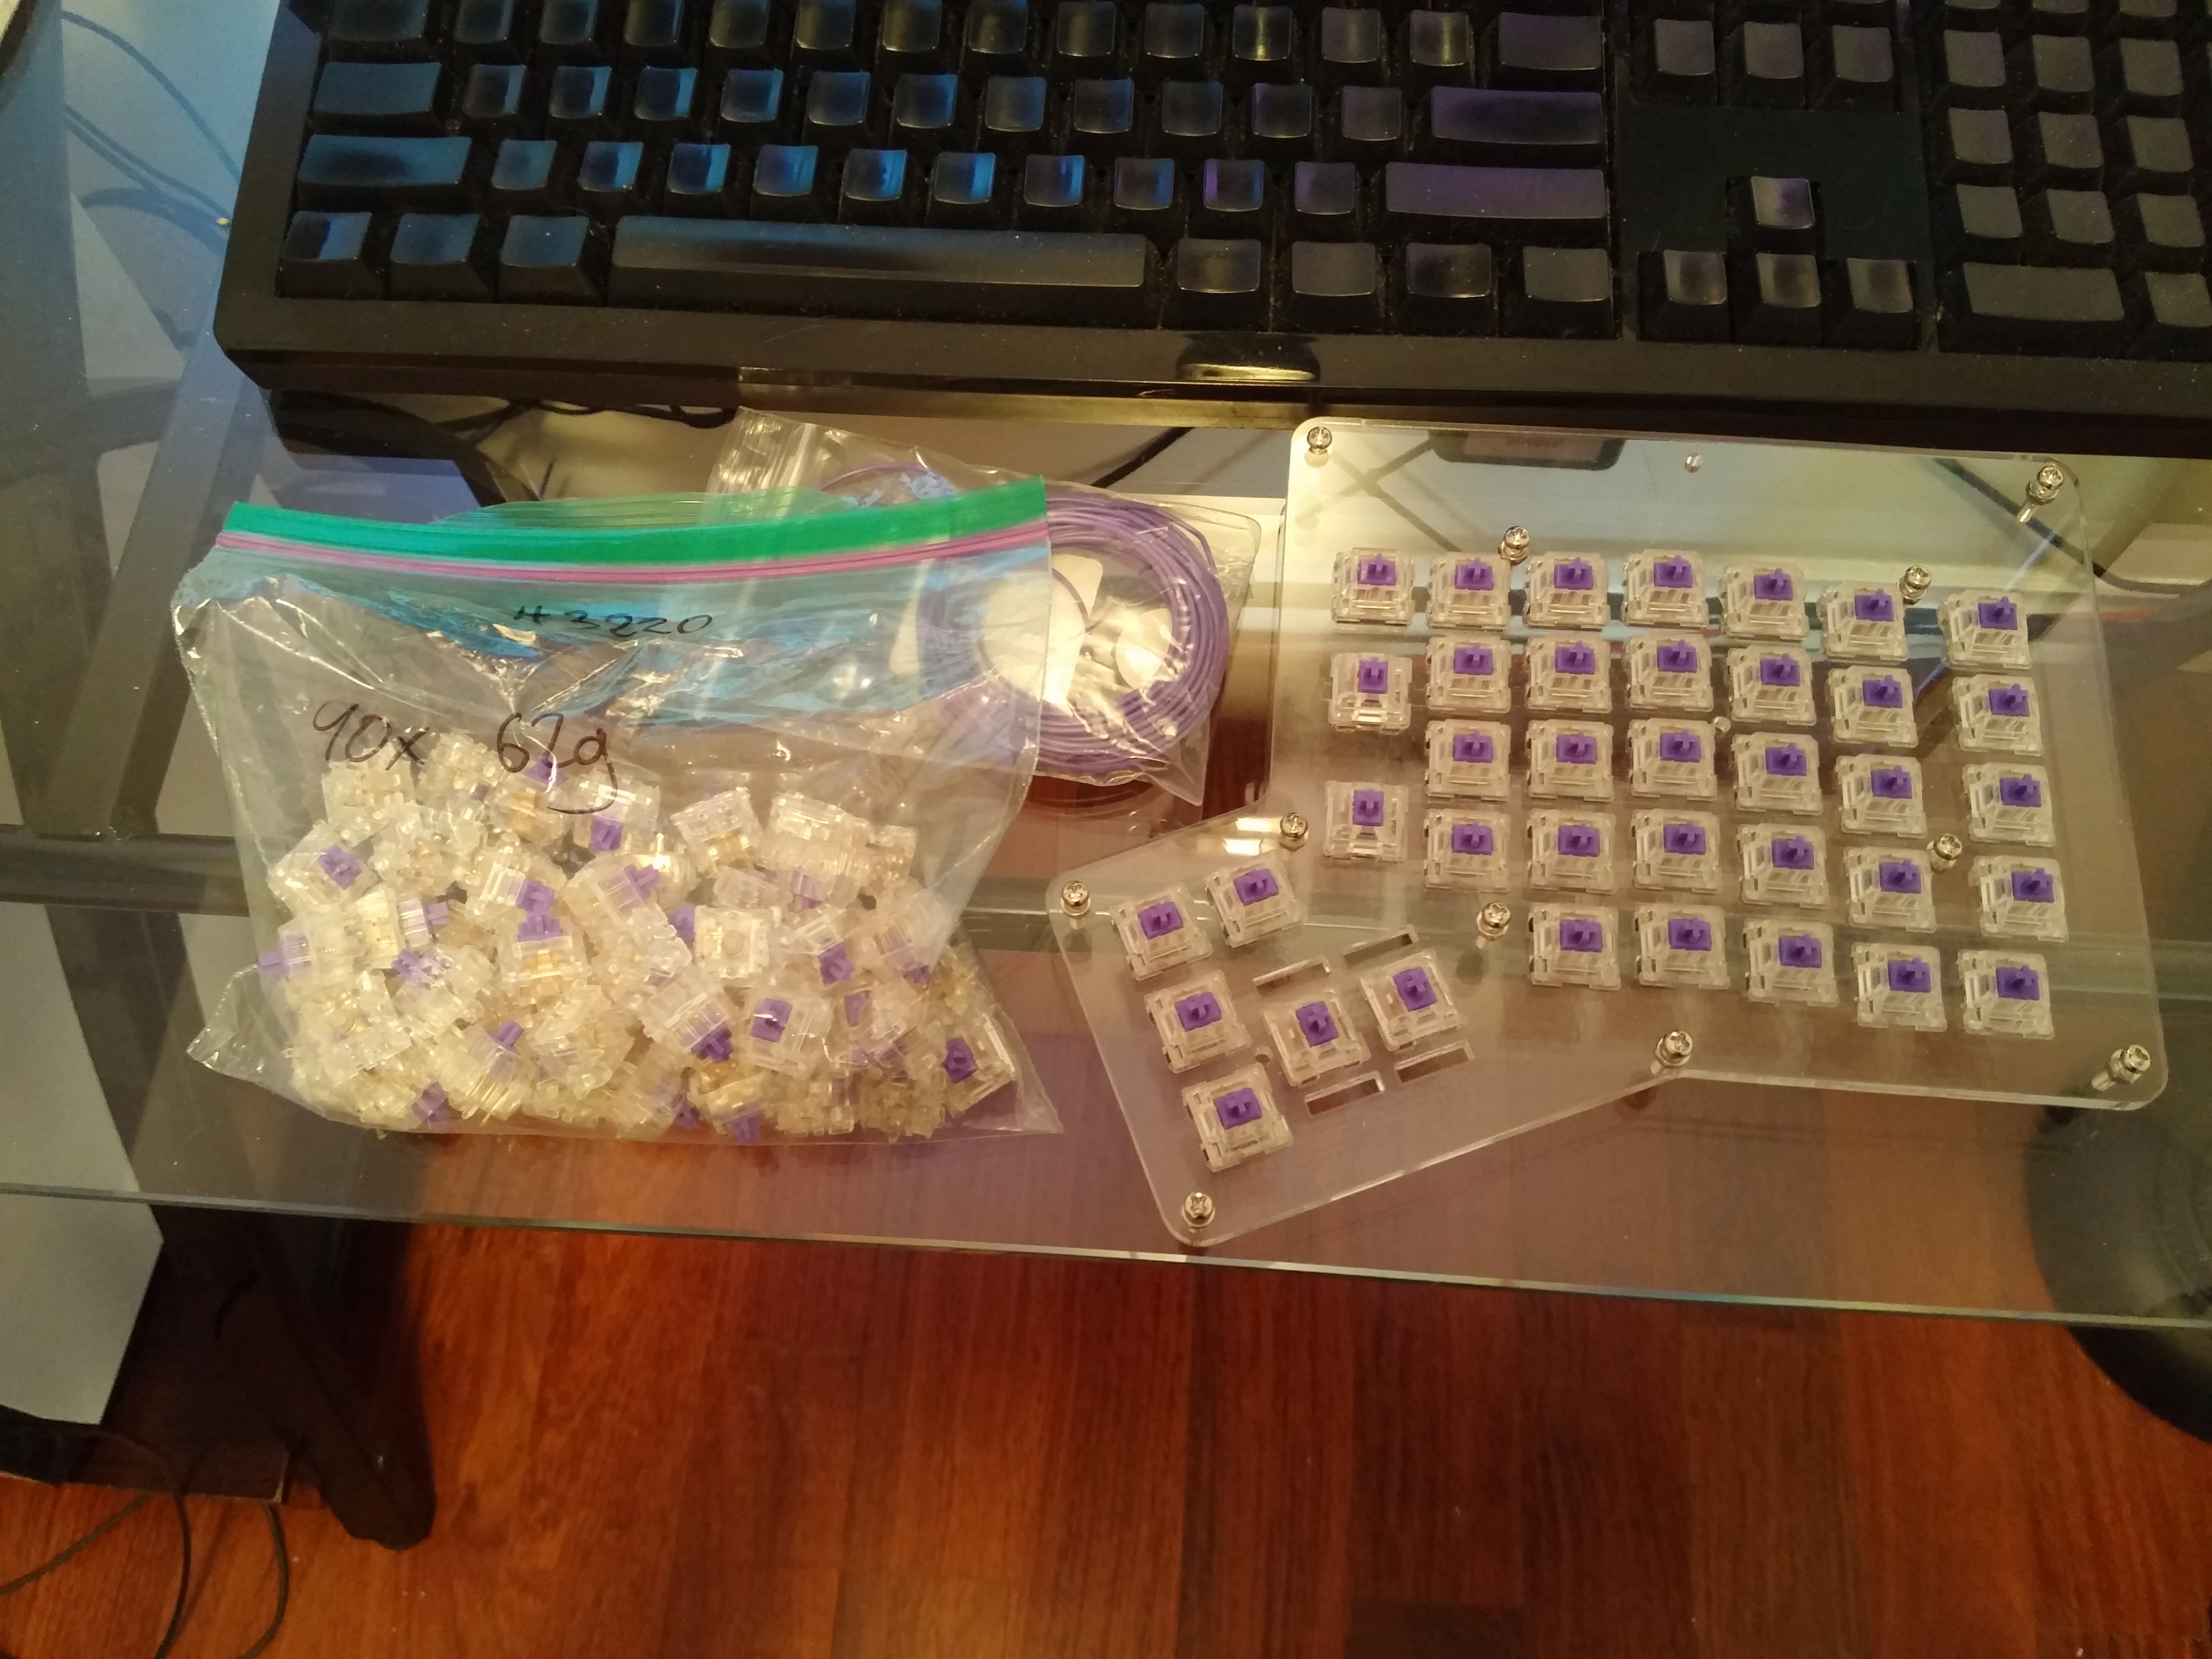
Test fitting the key switches.
After gluing
Soldering
To save on costs I passed on a Printed Circuit Board in favour of classic point to point soldering.
I love the end result. It makes it obvious that the keyboard was homemade. But this was a serious time investment. Each side took me a few hours to solder, and I had to split it across two days.
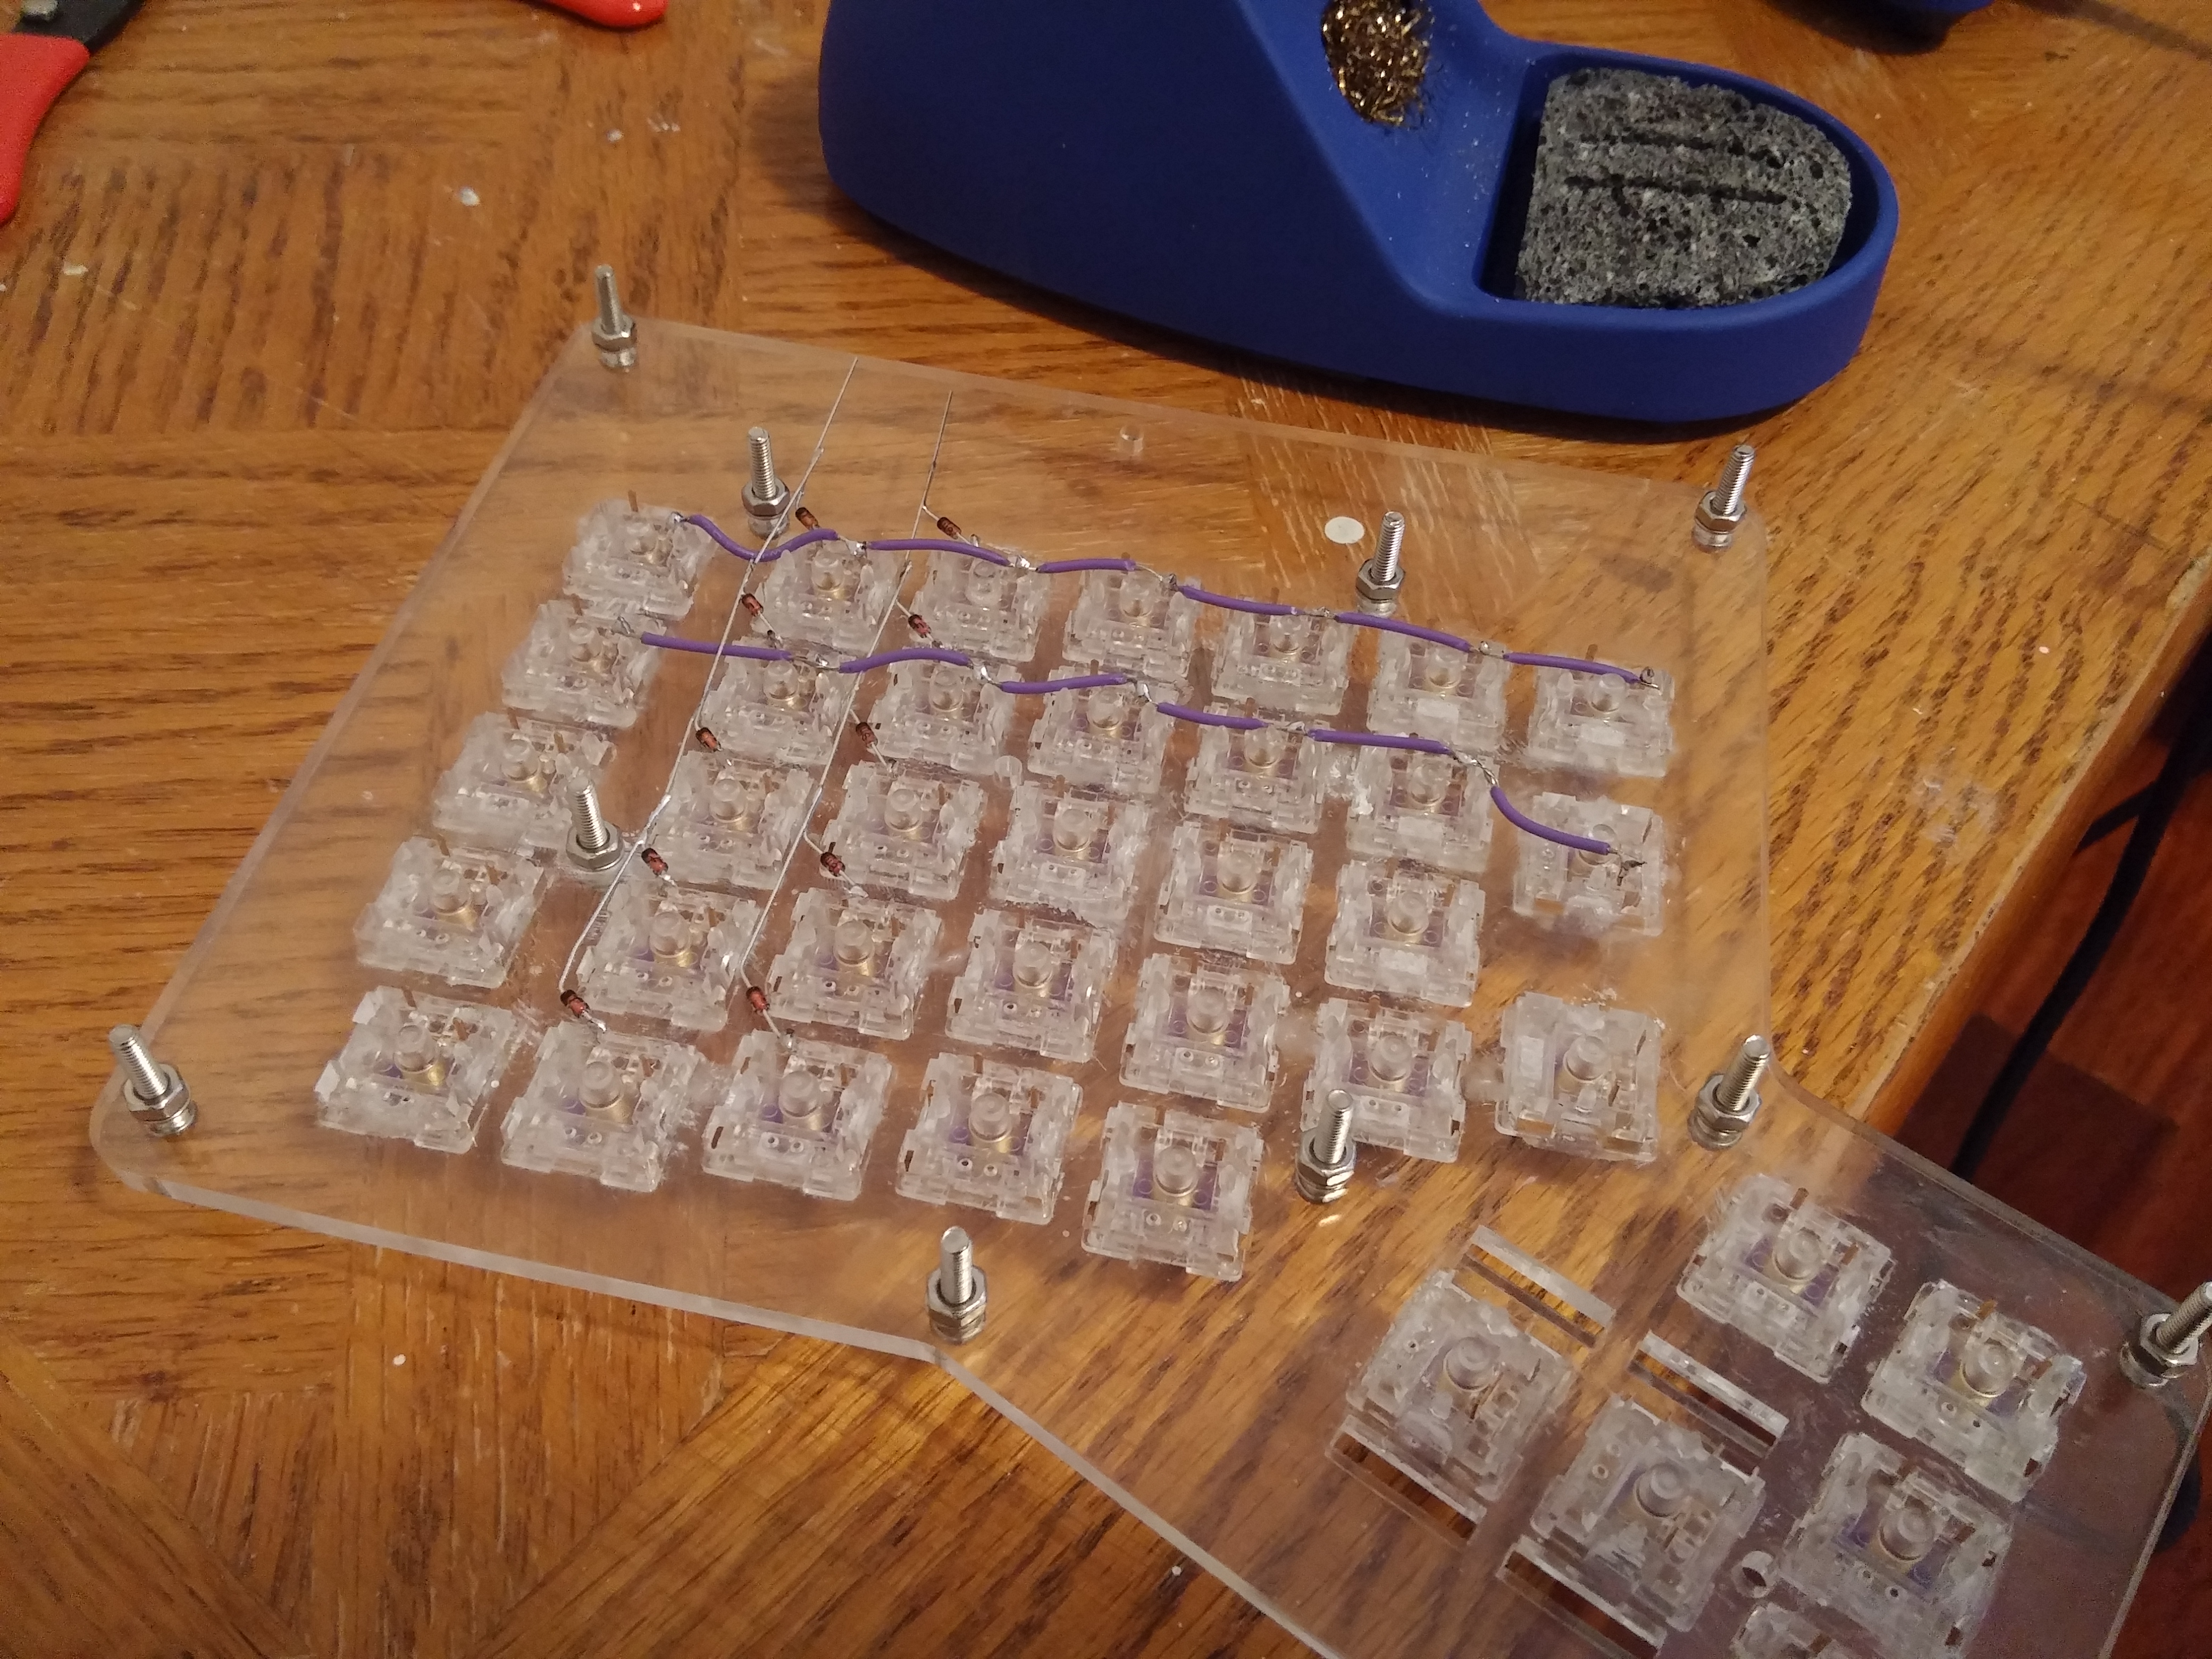
Finished rows and columns.
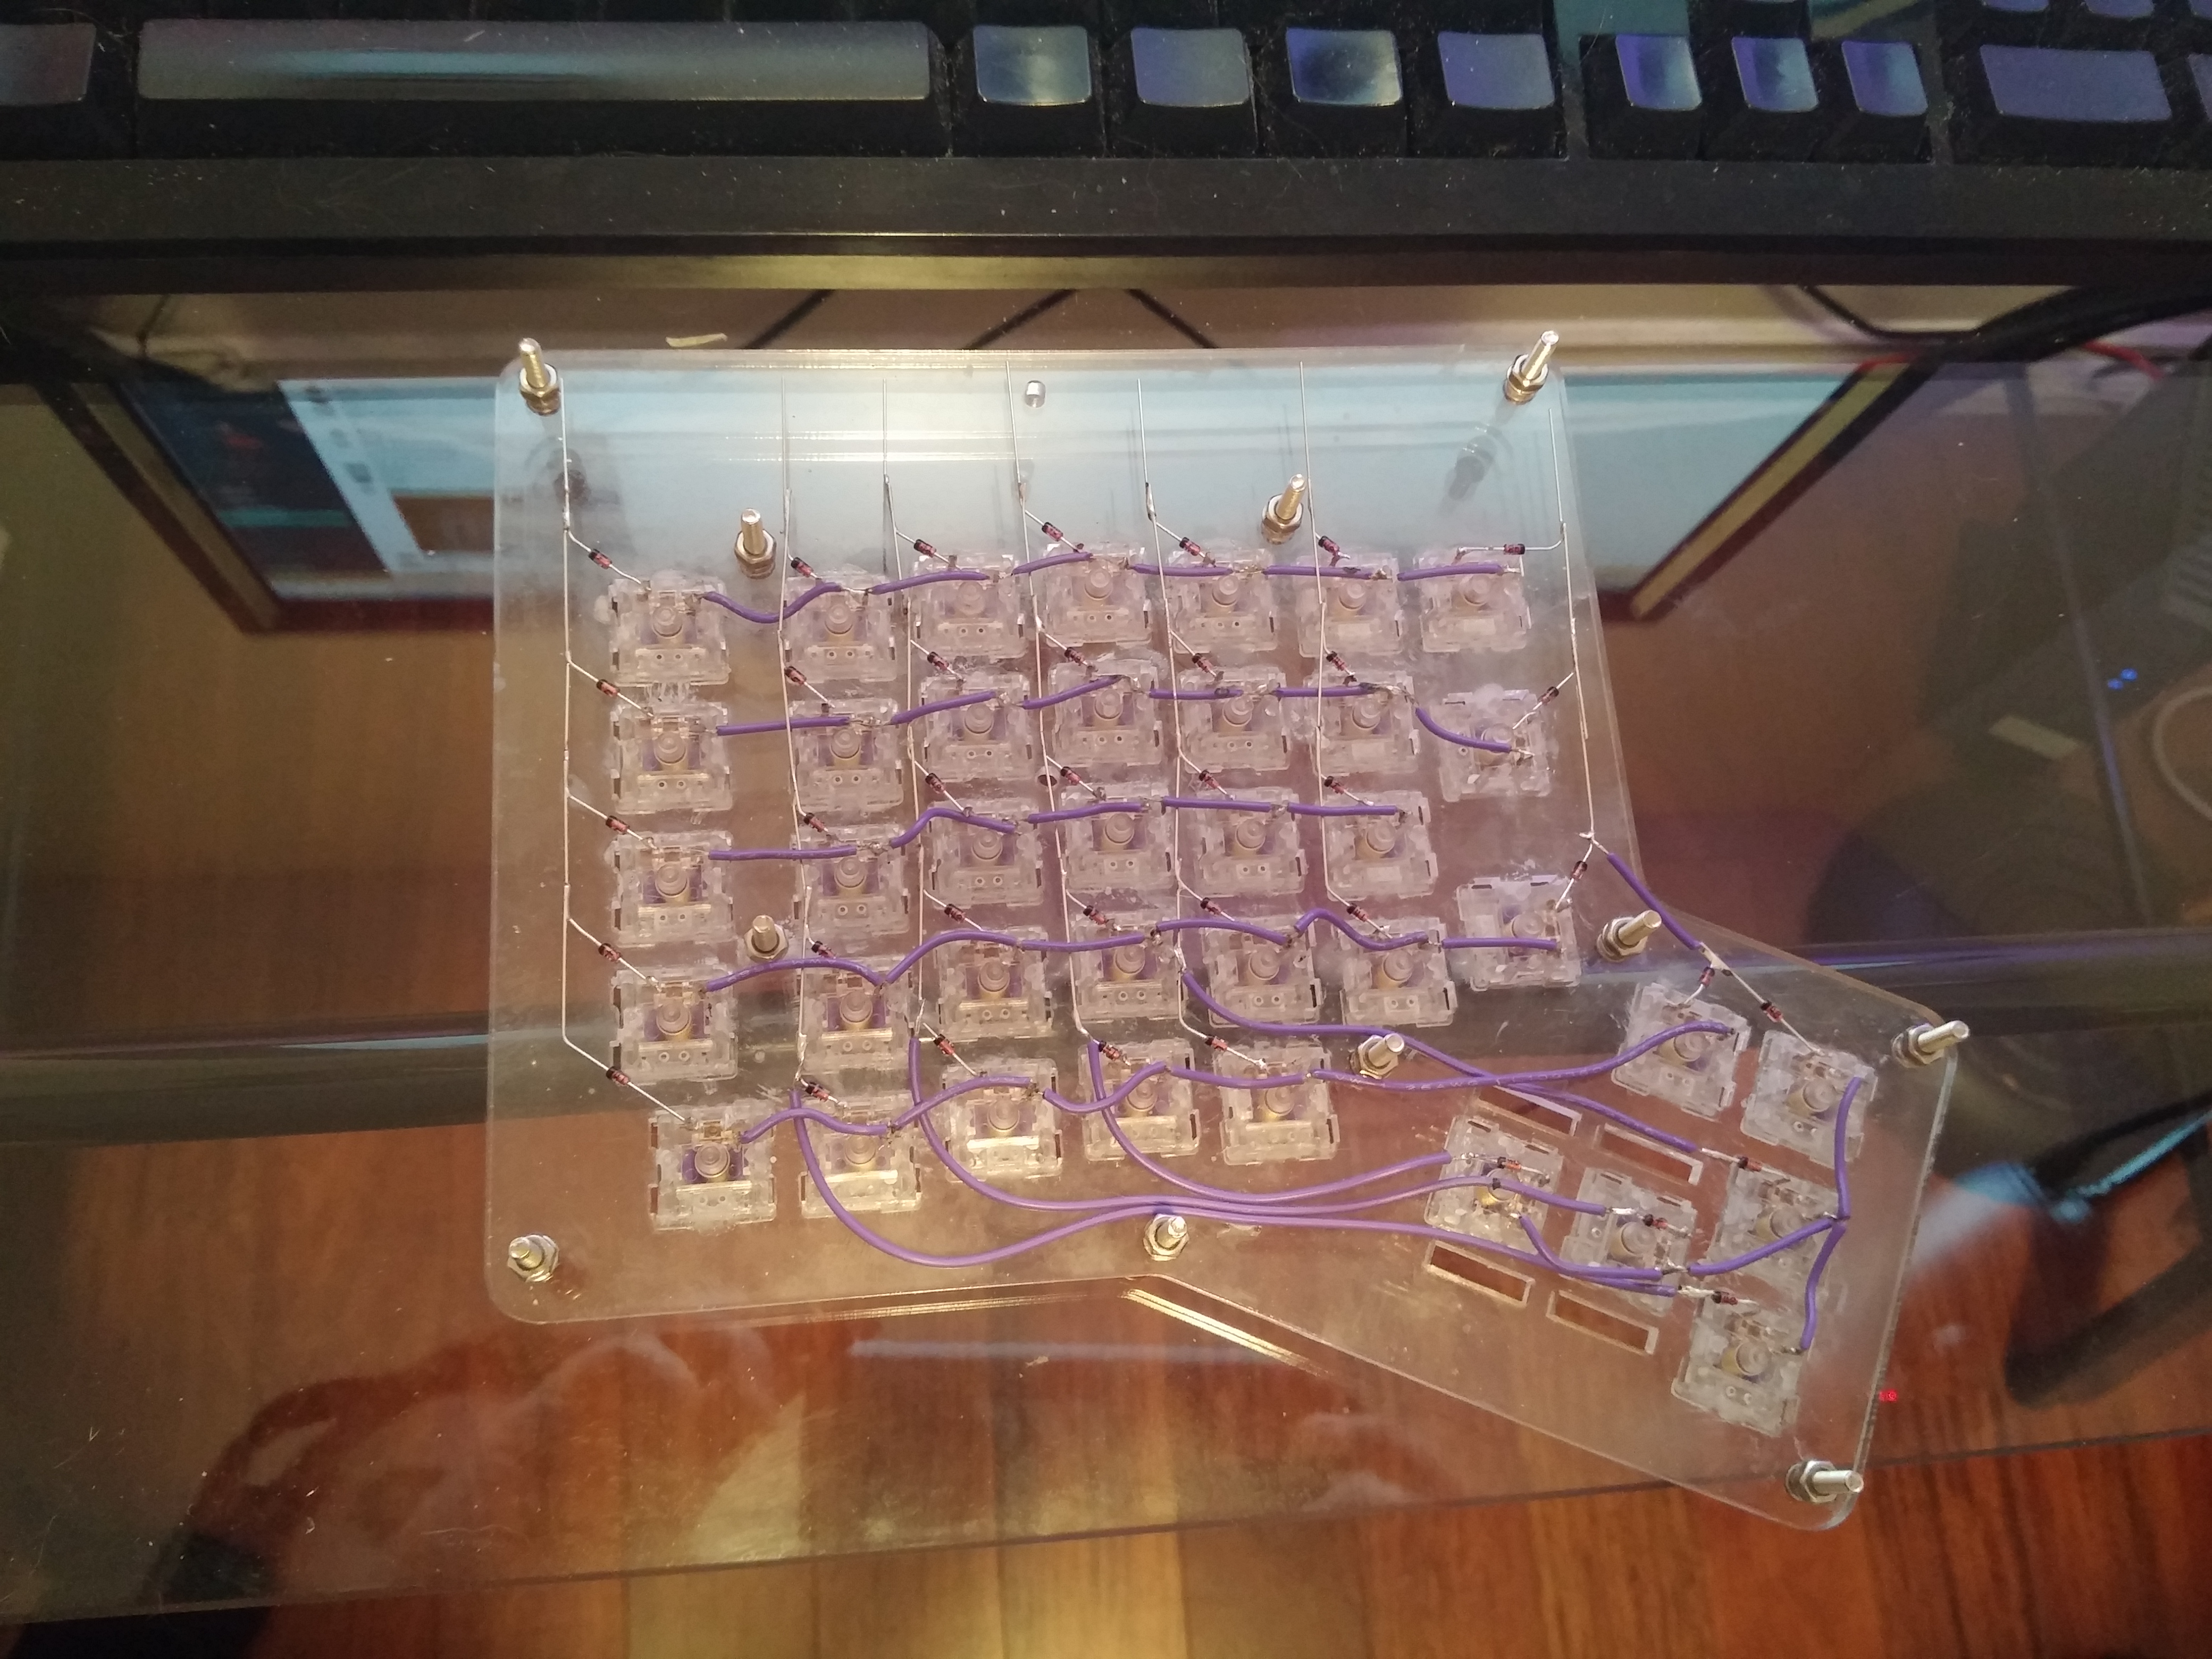
Added headers, which is how I’ll attach the keyboard to the microcontroller.
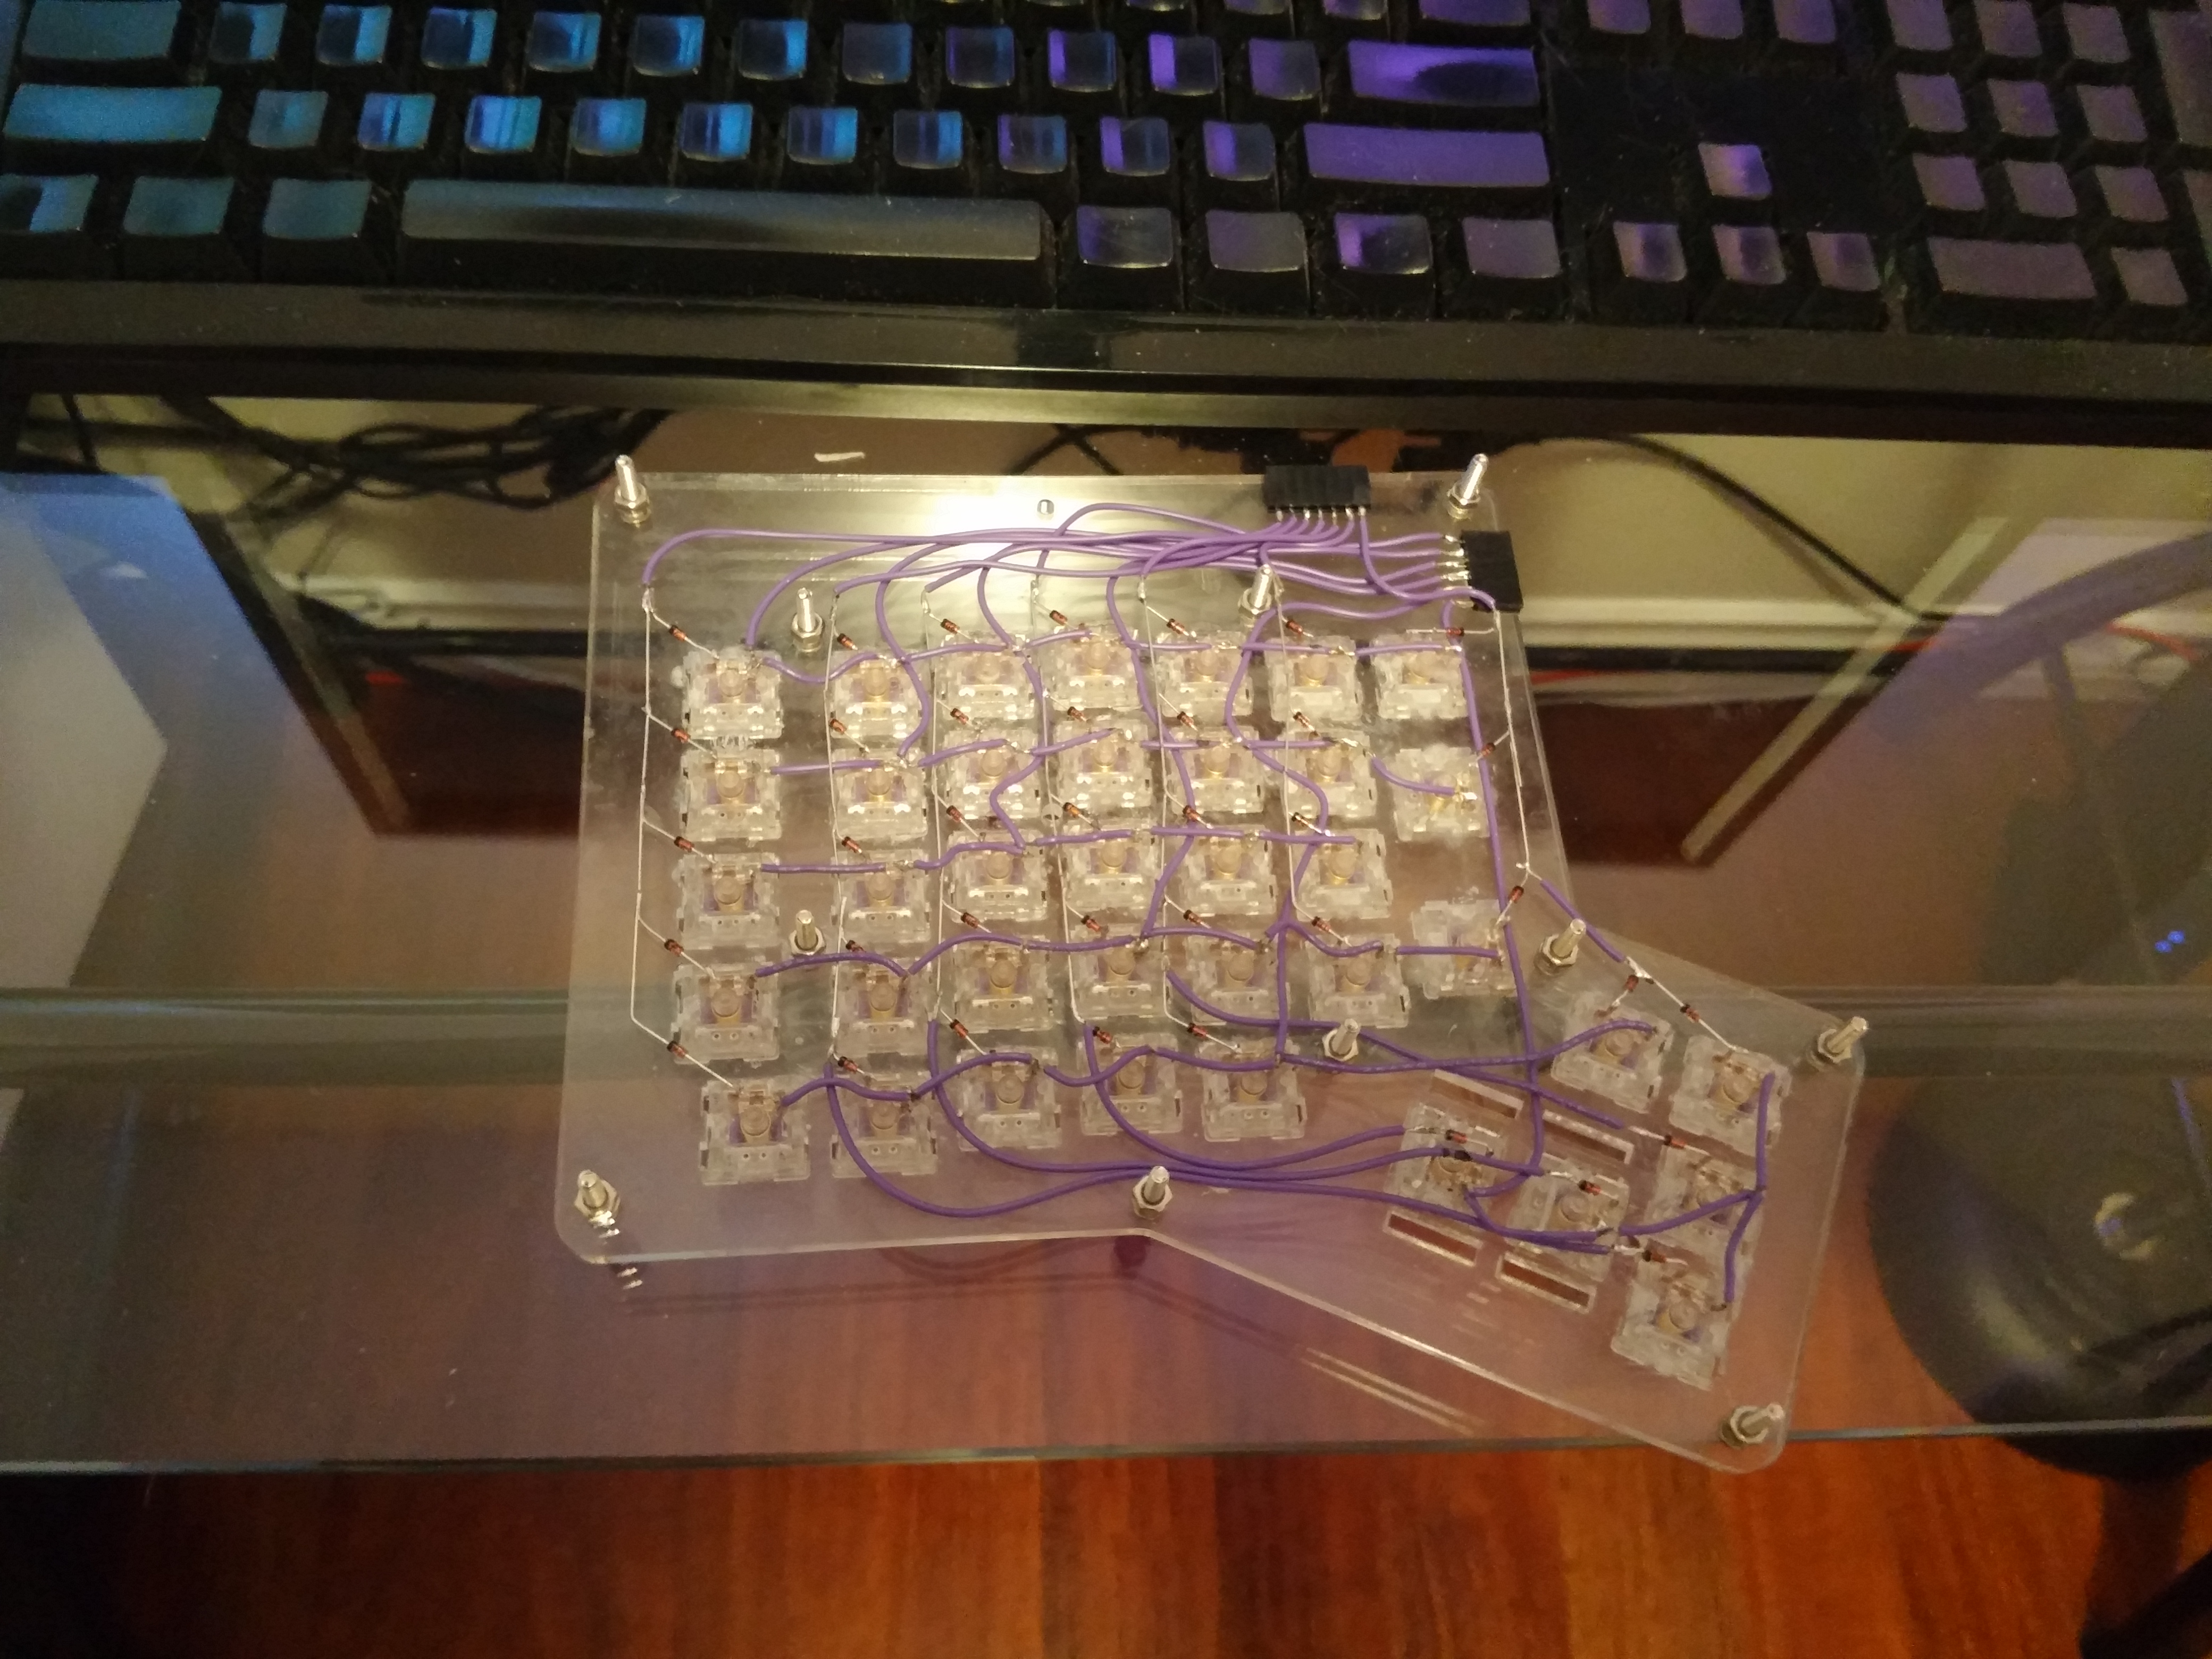
I tested the connectivity of each key.
Keycaps on. Starting to look like a real keyboard.
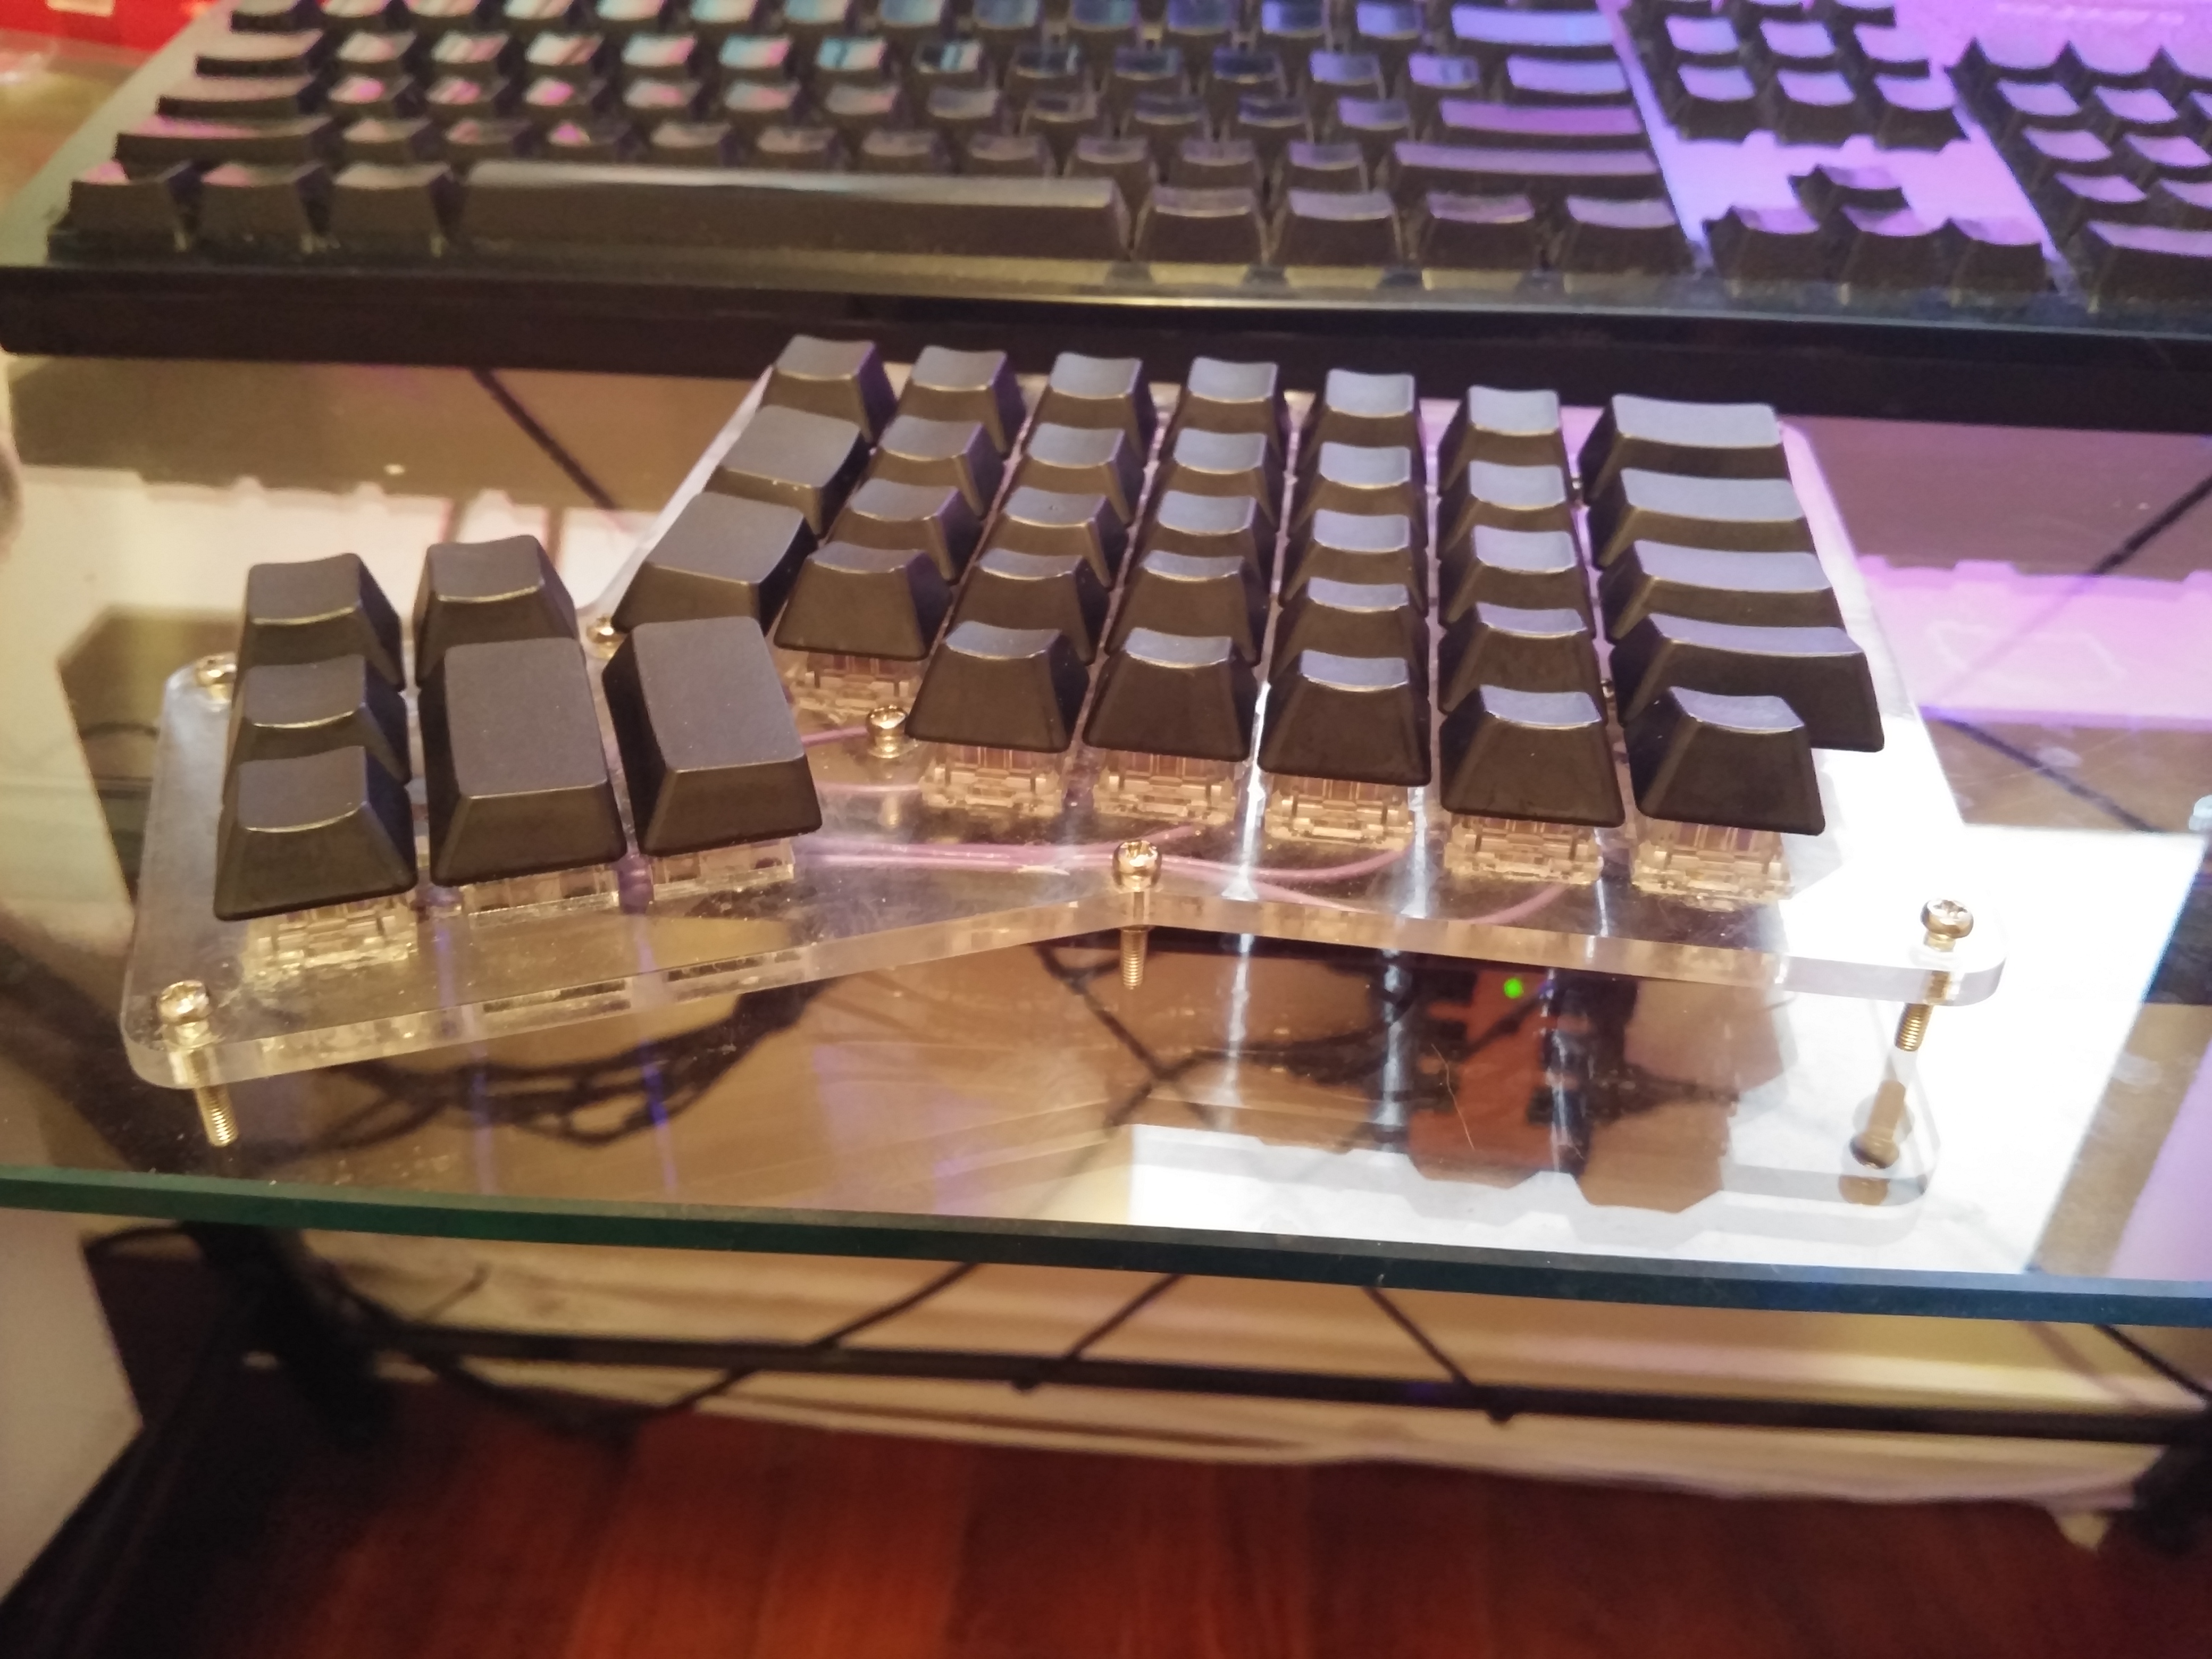
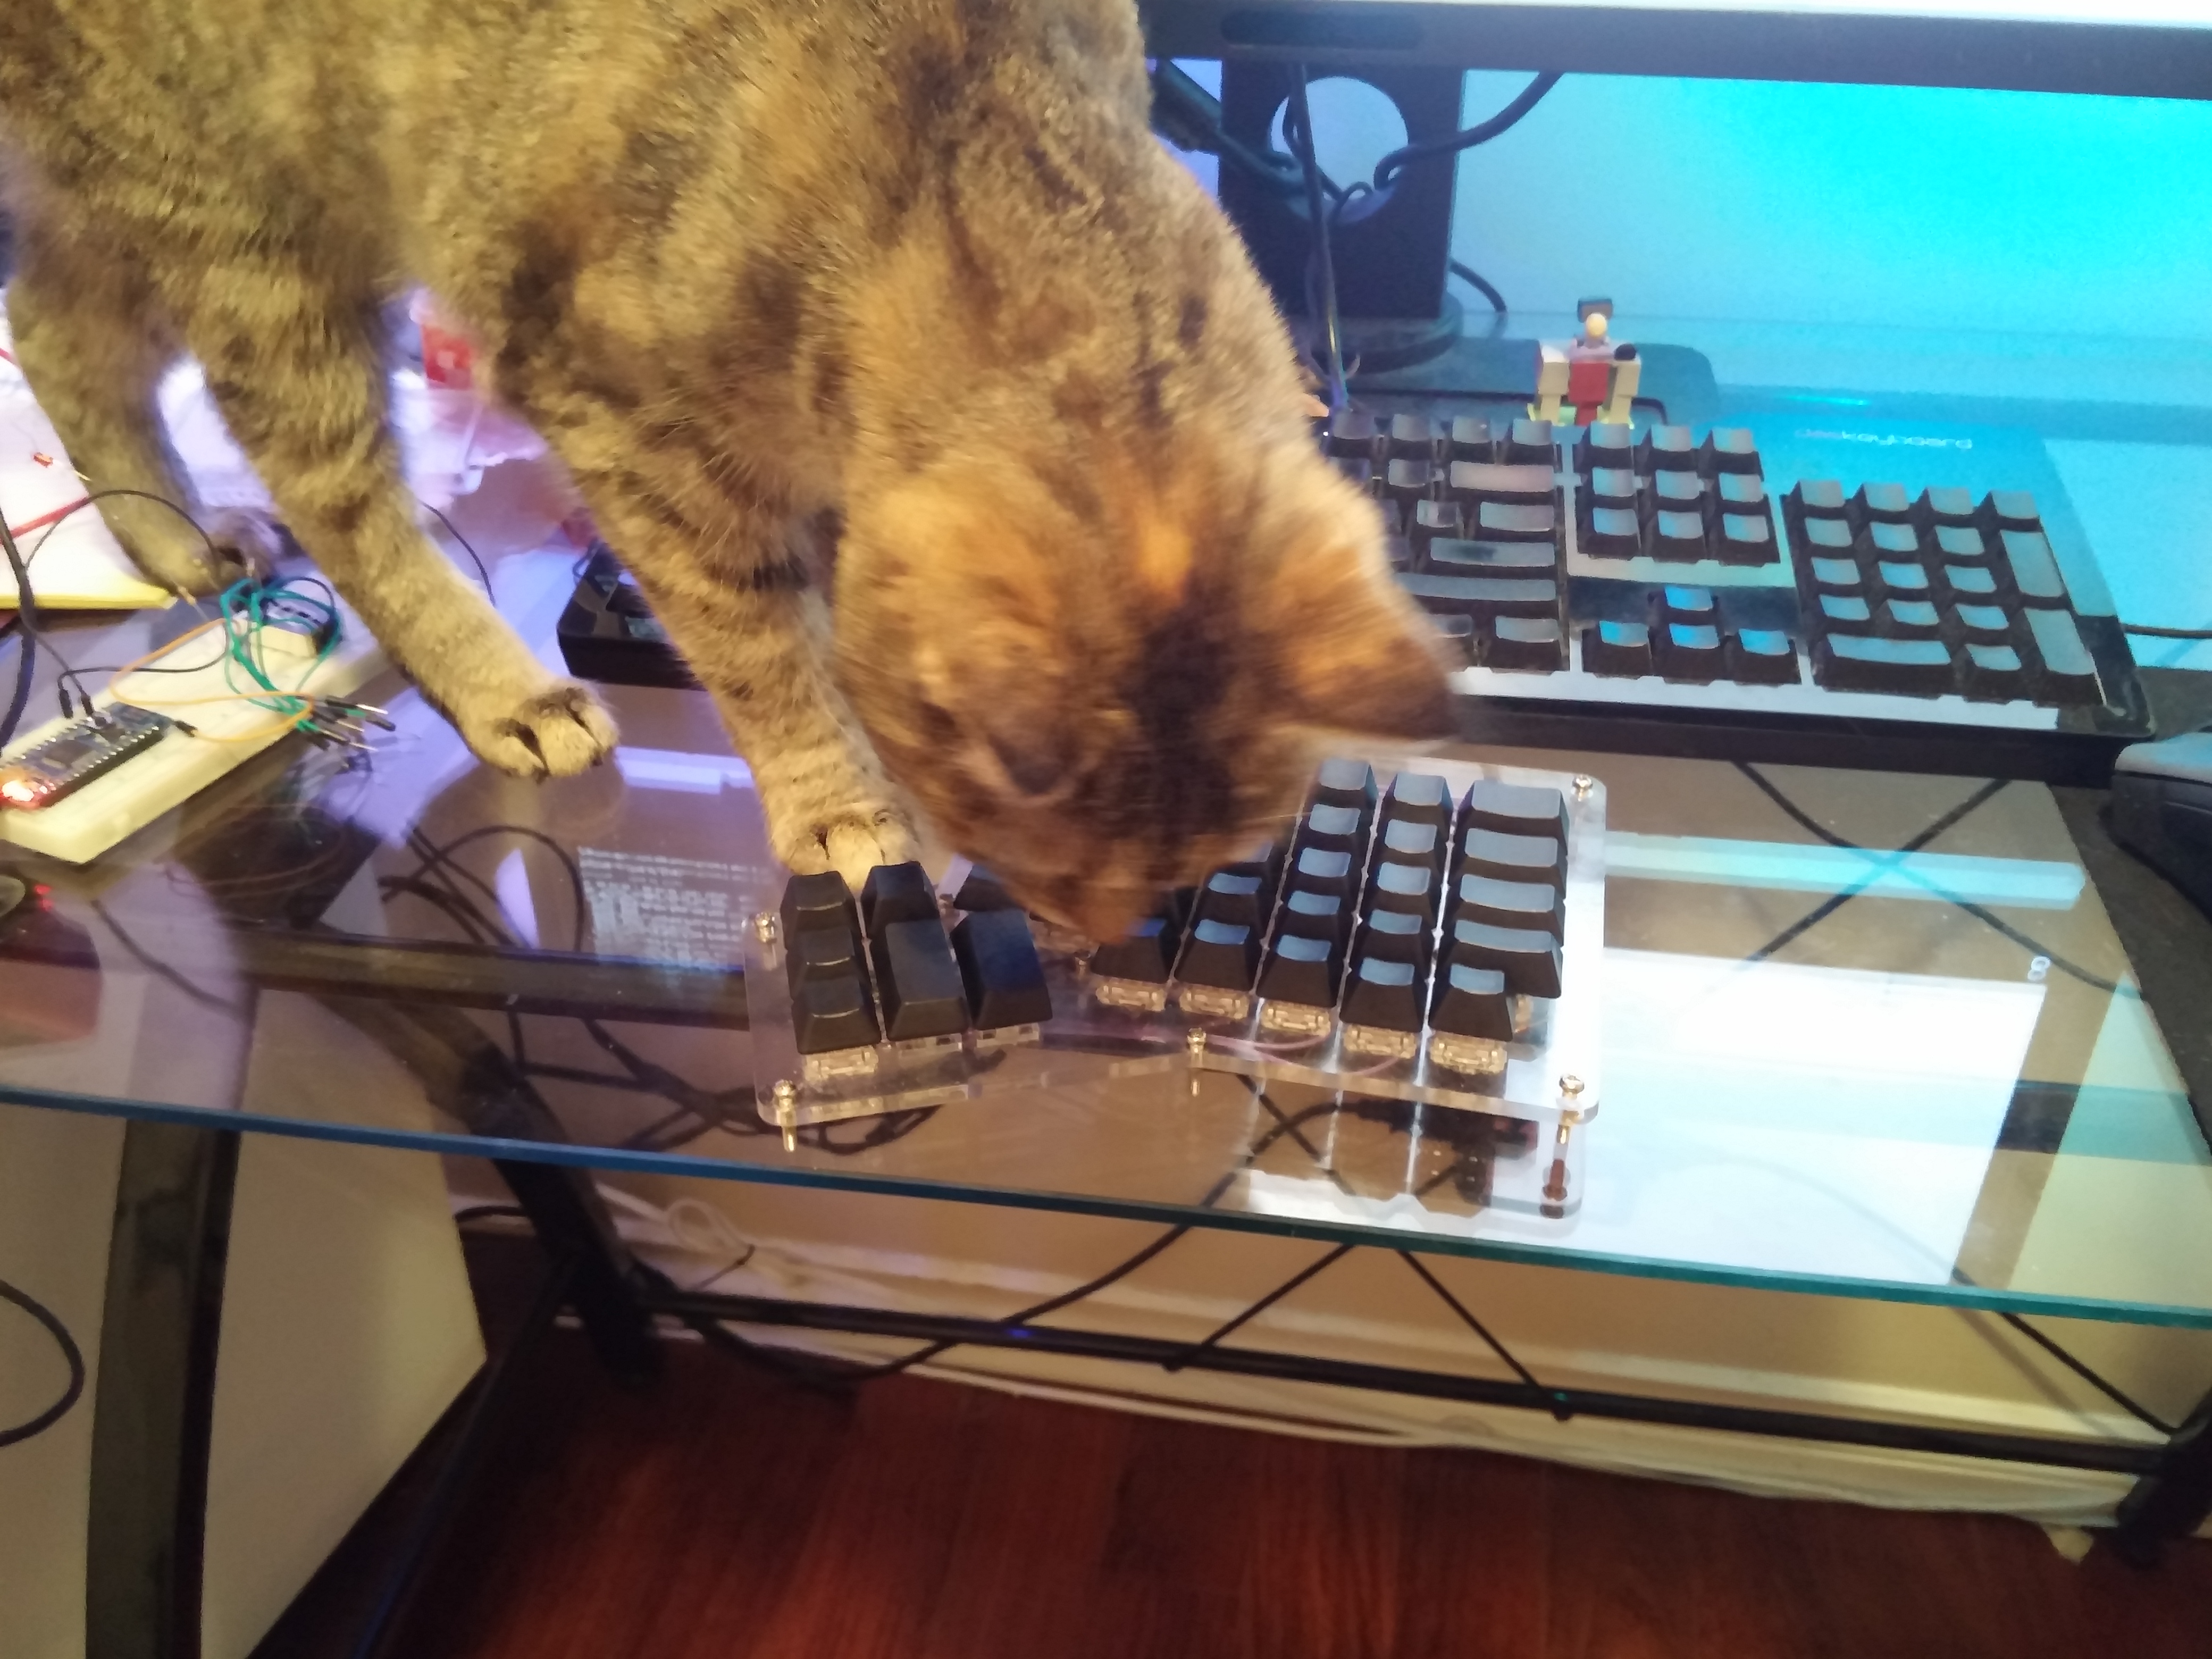
Marsha inspects
After hours of painstaking work: only half done. Time for the second side.

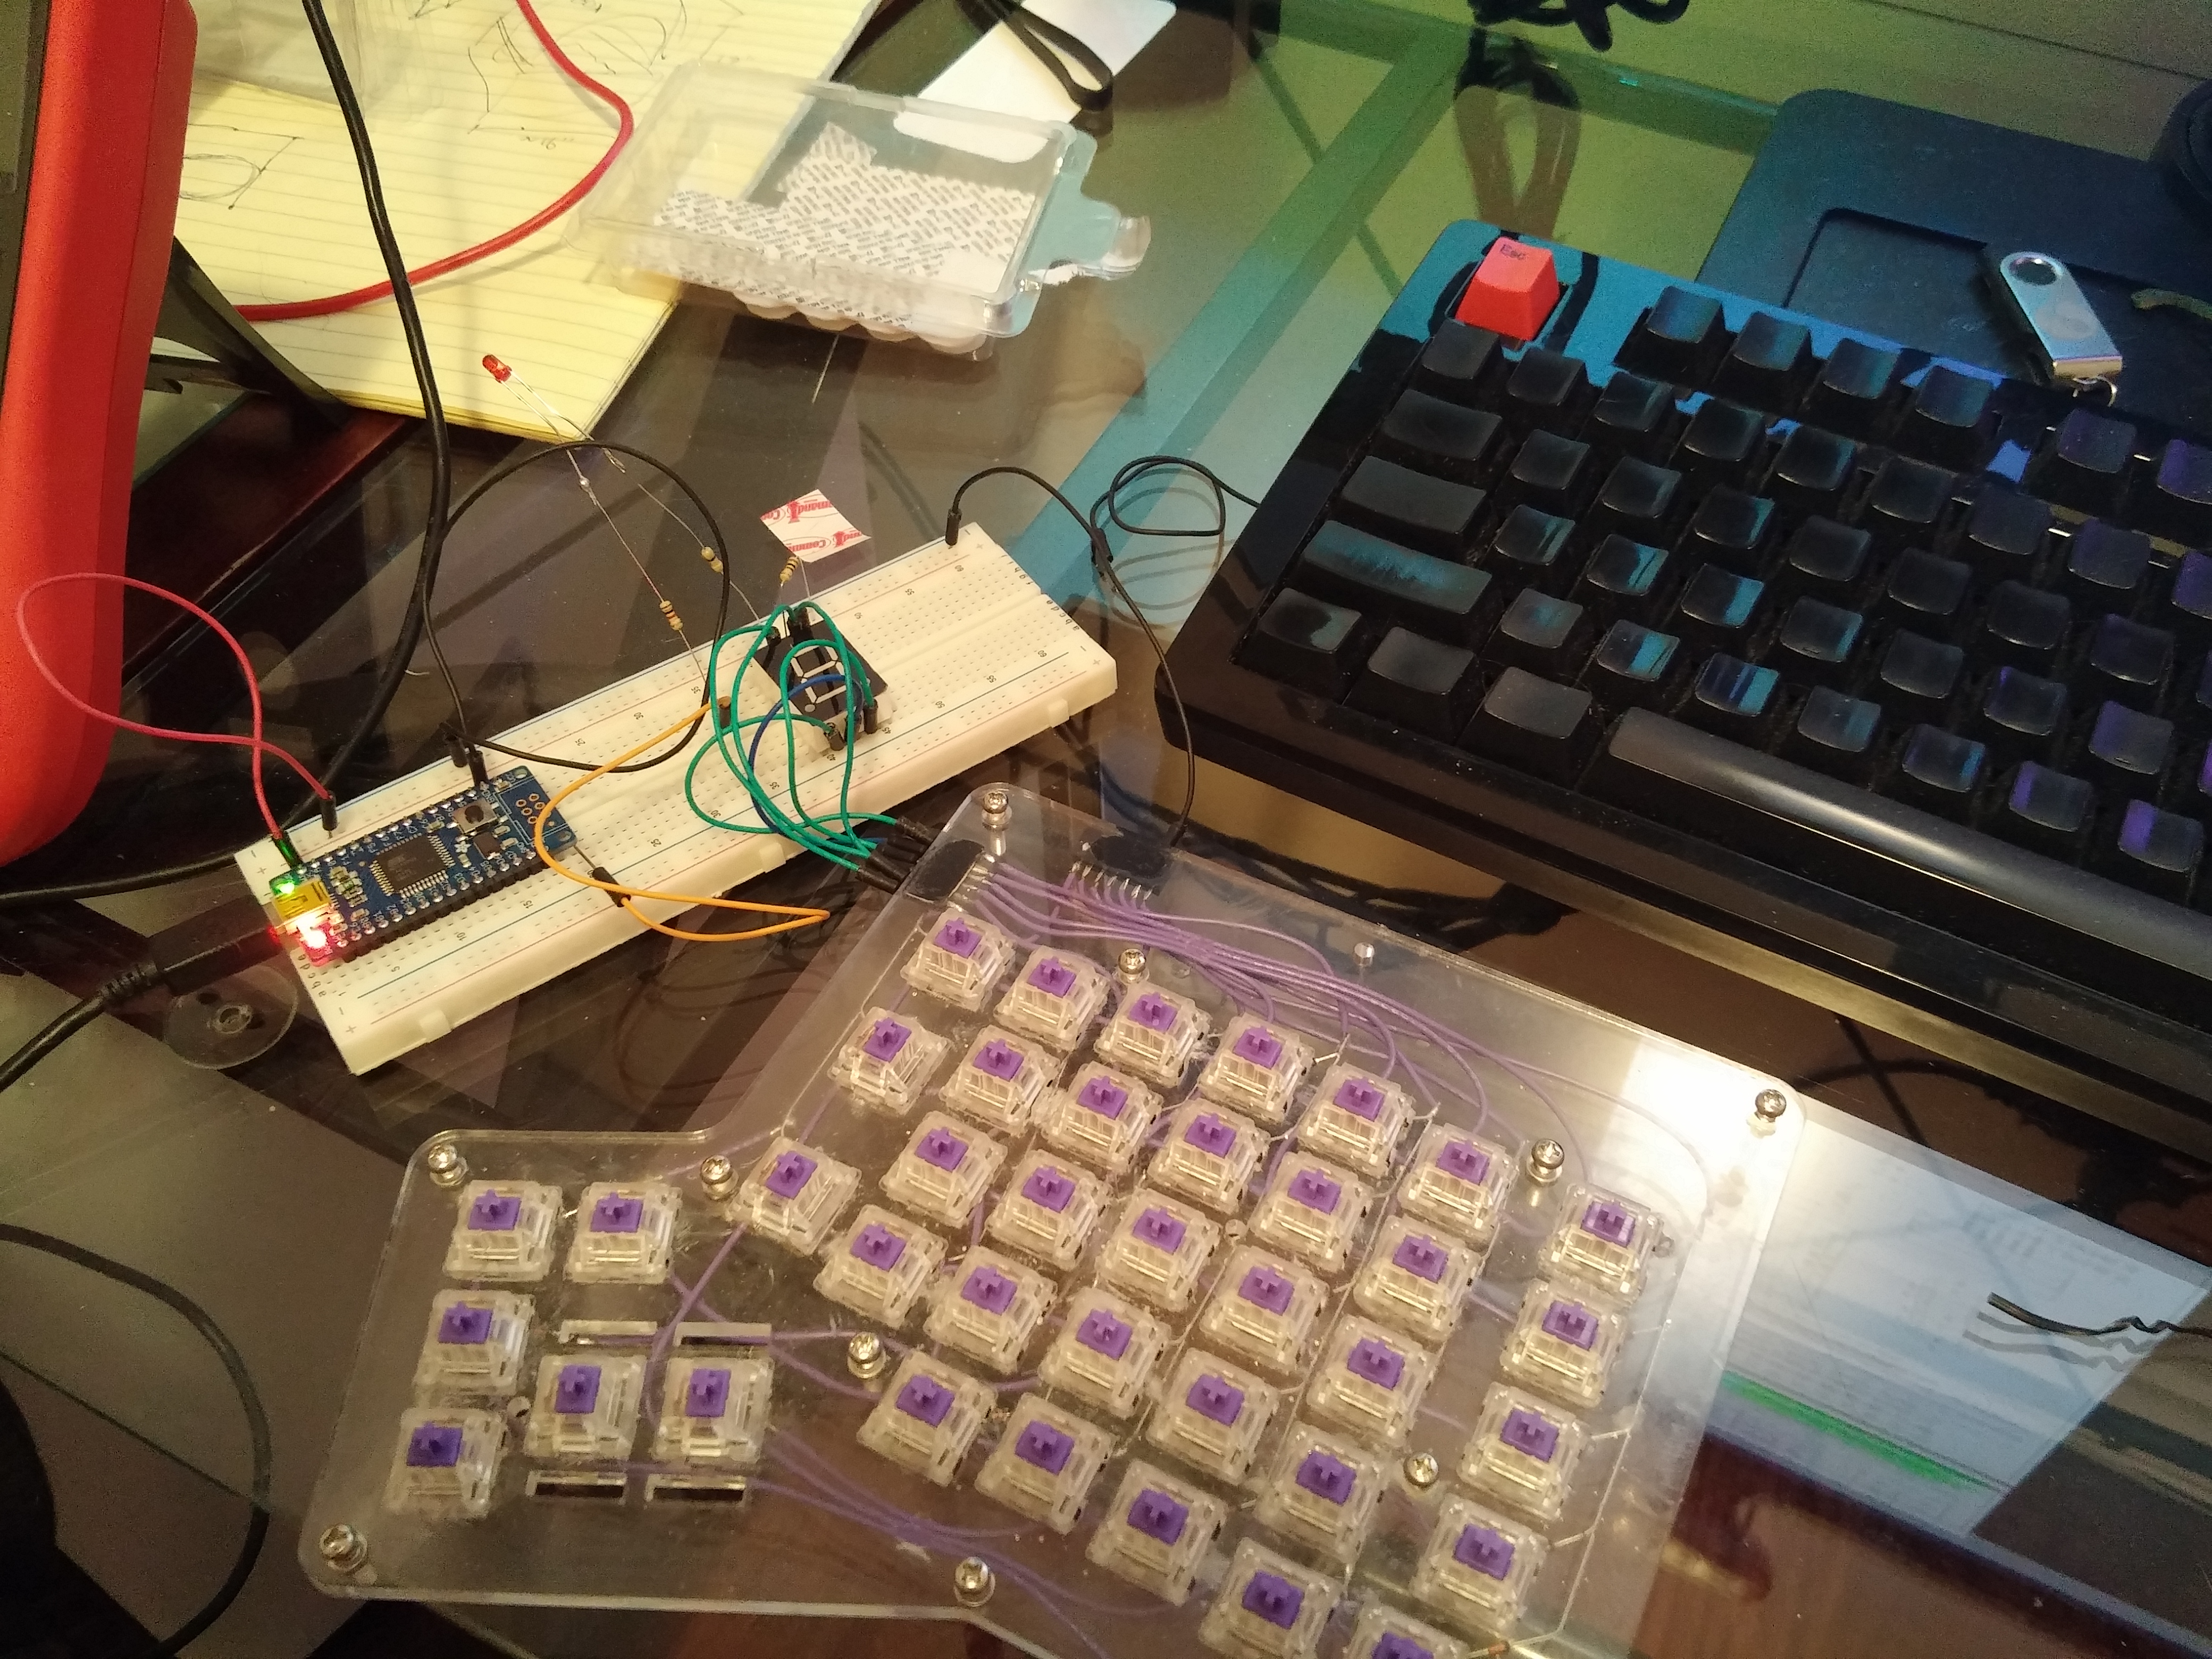
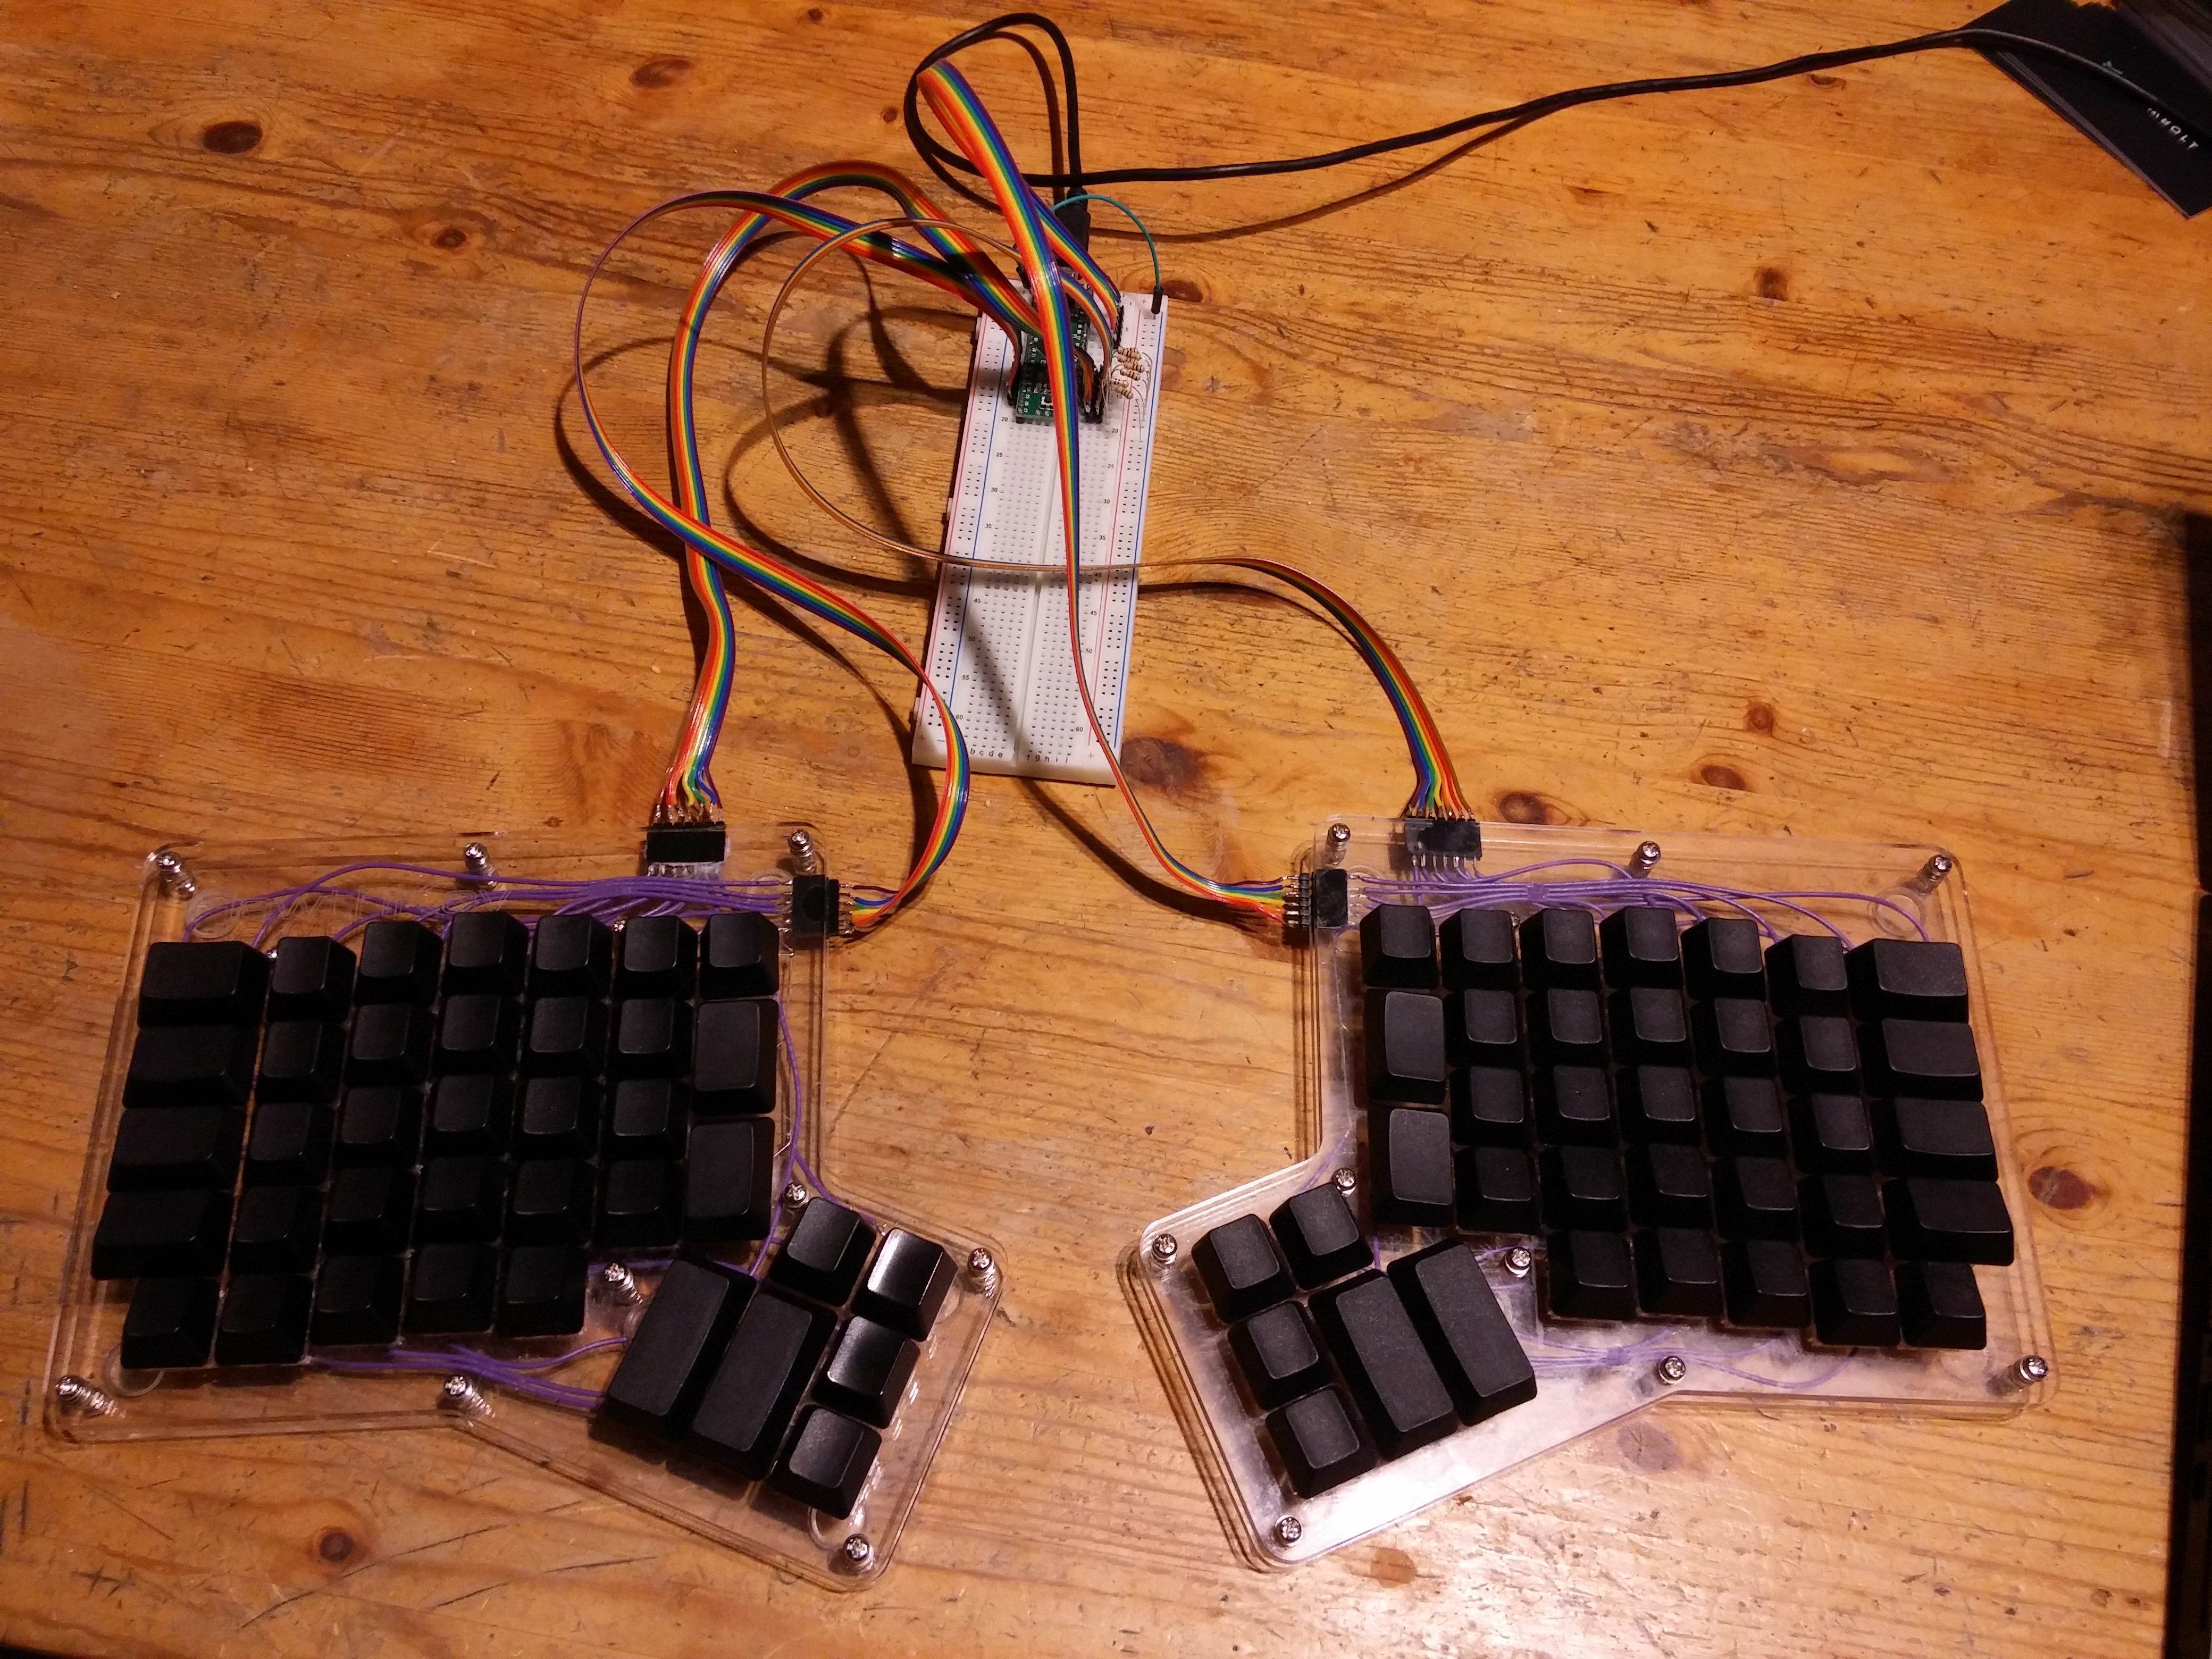
Both sides finished and wired up to the microcontroller.
Firmware
I based the firmware on TMK Keyboard Firmware Collection a really awesome and flexible open source keyboard firmware project. It’s hard to express just how much having full control over your keyboard’s firmware can change the way you use it. The keymap can be anything, requires no software changes and works across all operating systems. You can have macro keys (I have a key for Shift+Insert = Paste under Linux).
My full firmware is on github.
Keymap
The keymap took some experimentation. The default ErgoDox layout just didn’t click with me.
I had the most difficulty with the leftmost column, which I expected to house Esc, Backtick/Tilde, Tab, Control (where caps lock usually is), and Shift. I ended up moving Backtick/Tilde elsewhere, simply because it was the least used of those keys and was easyest to deal with repositioning.
One of the nicest advantages to a keyboard with custom firmware is it Just Works. Unlike with software remapping (via Xmodmap or similar), the new keymap works on any computer you plug it into. Finally my Caps-Lock -> Control remap worked on windows, the Linux VT, and Linux in X. The special modifier to allow pressing arrow keys even works in the BIOS.
The keymap is defined as a C macro. The whole thing is on github.
Issues
Truthfully, it’s a lot crappier than a normal keyboard, but I love it.
When I first started using it, the pull-down resistors resistors on the breadboard sometimes made contact and prevented some columns from working. Trimming the leads shorter prevented this. If I had wired the diodes correctly I could have used the internal pull-ups and avoided this entirely.
The ribbon cables occasionally stop making contact with the keyboards headers and need re-seating. If I plug the ribbon cables in backwards, the keyboard becomes inverted; “qwerty” becomes “ytrewq”.
Final cost
| Item | Cost |
|---|---|
| Zealio Keyswitches | $67.50 USD |
| Teensy++ 2.0 | $24.95 USD |
| Acrylic from Ponoko | $56.29 USD |
| 100 1N4148 diodes | $4.30 CAD |
| Ribbon cable | free-ish |
| Total | $153 USD |
So not cheap (and I’ve omitted some shipping costs), but very slightly less than a proper ErgoDox.
If I was to do it again (I hope to) I think I could have saved some of the cost. I could use cheaper Gateron brown switches instead of splurging on the super cool translucent Zealios. I also should have asked around the local makerspace to see if someone would let me use their laser cutter.